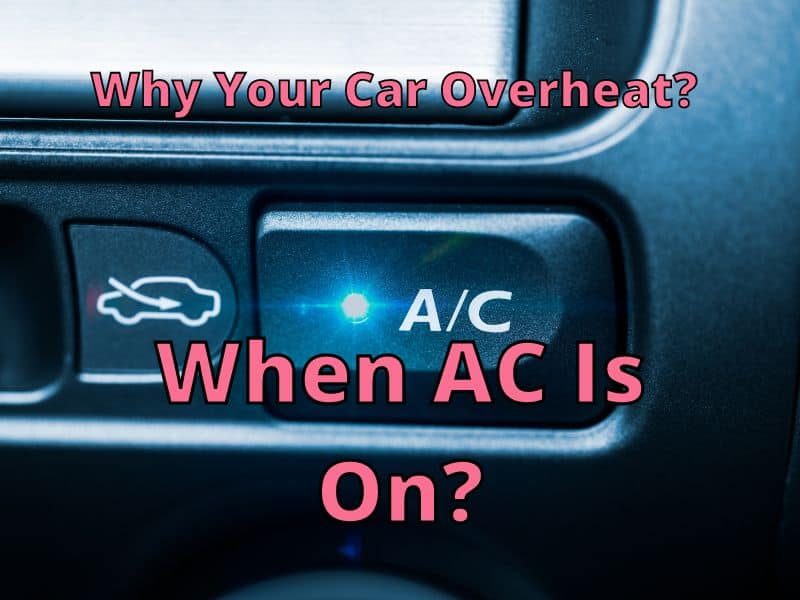
When you are sitting in your car with the AC on, you suddenly notice that the interior of the car starts to feel warm. You ignore this initially, thinking things will start to get cooler, but the problem persists, and finally, you notice that the car is starting to overheat, but only when the AC is on. Sounds familiar?
Cars can overheat when the AC is on because the serpentine belt that turns the AC compressor also connects to many other engine parts, including the power steering pump, water pump, crankshaft, radiator fan, and alternator.
If the AC compressor is not working well, the engine must work harder, making it overheat. Another reason for overheating is when the AC condenser is not working properly, or the water pump creates excess heat.
If you have this problem, you are not alone. This problem is faced by many others who have gone through this same issue with their car. An overheating engine is an important issue to resolve the first time it happens, or expensive damage could occur, taking time and patience to fix.
What are the Reasons for Overheating?

If overheating happens only when the AC is on, you’ll be fairly sure that you need to check the AC compressor, the condenser, and the water pump. A car’s engine can begin to heat up quickly because heat is created in different ways as soon as the AC is on.
The engine has to work harder to create higher temperatures (if the AC compressor is bad), and the AC system creates heat that the condenser or water pump can’t cool, also creating higher temperatures.
Be sure to turn off the AC if you suspect a problem and try to get it fixed as soon as possible. Just carrying extra water to put in the radiator when the engine gets hot is going likely to lead to engine failure.
1. Bigger Load Problem
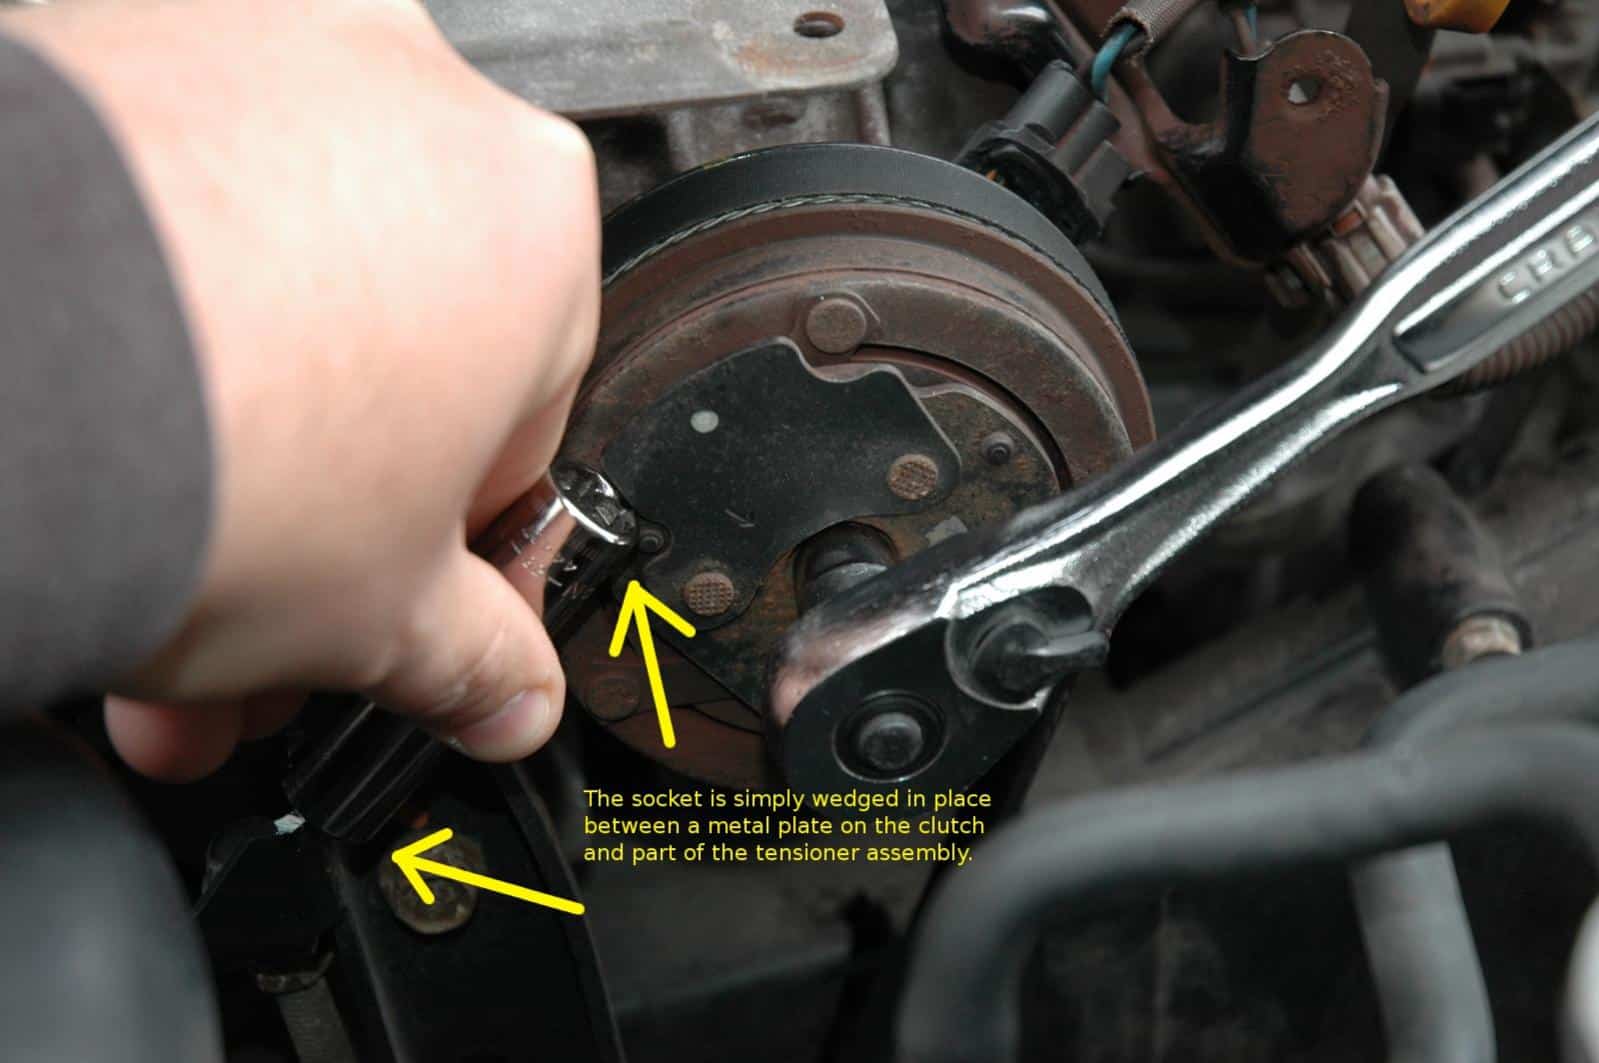
The main reason is most likely the AC compressor. When the AC is on, the compressor needs to work like an engine, moving its cylinders to compress the refrigerant. This created a load (pressure carried) on the engine.
If the AC compressor doesn’t turn as well as it is used to, the load on the engine is too much, creating excess heat. The AC compressor might have added an extra rotational load to the engine, so the first thing to check is your engine overheats.
2. Inefficient Working of the Cooling System
As the AC system moves refrigerant to the condenser, the engine fan blows over the condenser fins to regulate temperature. If the fins are clogged, the condenser temperature will rise. If the condenser gets too hot, it can lead to the engine overheating.
Another reason the engine can overheat is when the radiator and condenser tubes get clogged over time. Liquid passes through the tubes, and corrosion or particles can cause clogged areas.
This clogging can cause the refrigerant and the coolant not to flow properly, causing parts to heat up and, eventually, engine overheating. Taking a look at the radiator and condenser may help you figure out why things aren’t functioning improperly.
3. Faulty Fan
When the car gets overheated at slow speeds or a stop, the likely culprit is the engine fan. This problem is caused when there is a lack of airflow through the radiator and condenser. The fan could be broken, or there could be a blockage in the fins, radiator, and condenser. Also, check for a faulty fan switch.
Consider getting a new fan, or you might want to check the fan assembly or the fan clutch.
4. Fault in the Temperature Sensor
This possibility is unlikely but happens in some cases. The coolant temperature can be measured and compared to the temperature indicator on the dashboard. Sometimes due to the fault in the temperature sensor, this reading is false, which causes inaccurate dashboard indicator readings.
If it reads normal and the engine temperature is rising, your engine could overheat. You should check the functioning of the thermostat if you suspect this might be the reason your car is having temperature readings issues.
What is the Solution to Car Overheating When the AC is On?

- Sometimes the air conditioning refrigerant is incompatible with that particular vehicle. So double-check the compatibility if it was changed recently and change it again if needed. You can do this with the help of a mechanic or by yourself with the proper gear and knowledge.
- You can check the radiator cap when the engine is cool and see that it is functioning properly. You can clean the debris off the radiator and can check the radiator pressure with a radiator testing kit. This will help you see if you have a coolant leak. Replace any hoses or clamps if needed.
- To avoid the overheating problem, change your antifreeze every two years. This has proven to be an excellent remedy to prevent corrosion and increase the durability of your car.
- Sometimes the air gets trapped in the coolant system, which increases the car’s temperature. You can flush the system to release the trapped air to resume normal car temperature.
- Make sure that the radiator is full of coolant. Don’t mix regular water; only in an emergency. Do not touch the radiator when the engine is hot or as it releases any steam. Wait for it to cool down.
- If your engine is overheating, wait until the engine has cooled down, then check the radiator fluid levels. If it’s low, then add water if you need to. Later fix any leak and replace the radiator fluid with about 50% coolant and 50% distilled water, not tap water.
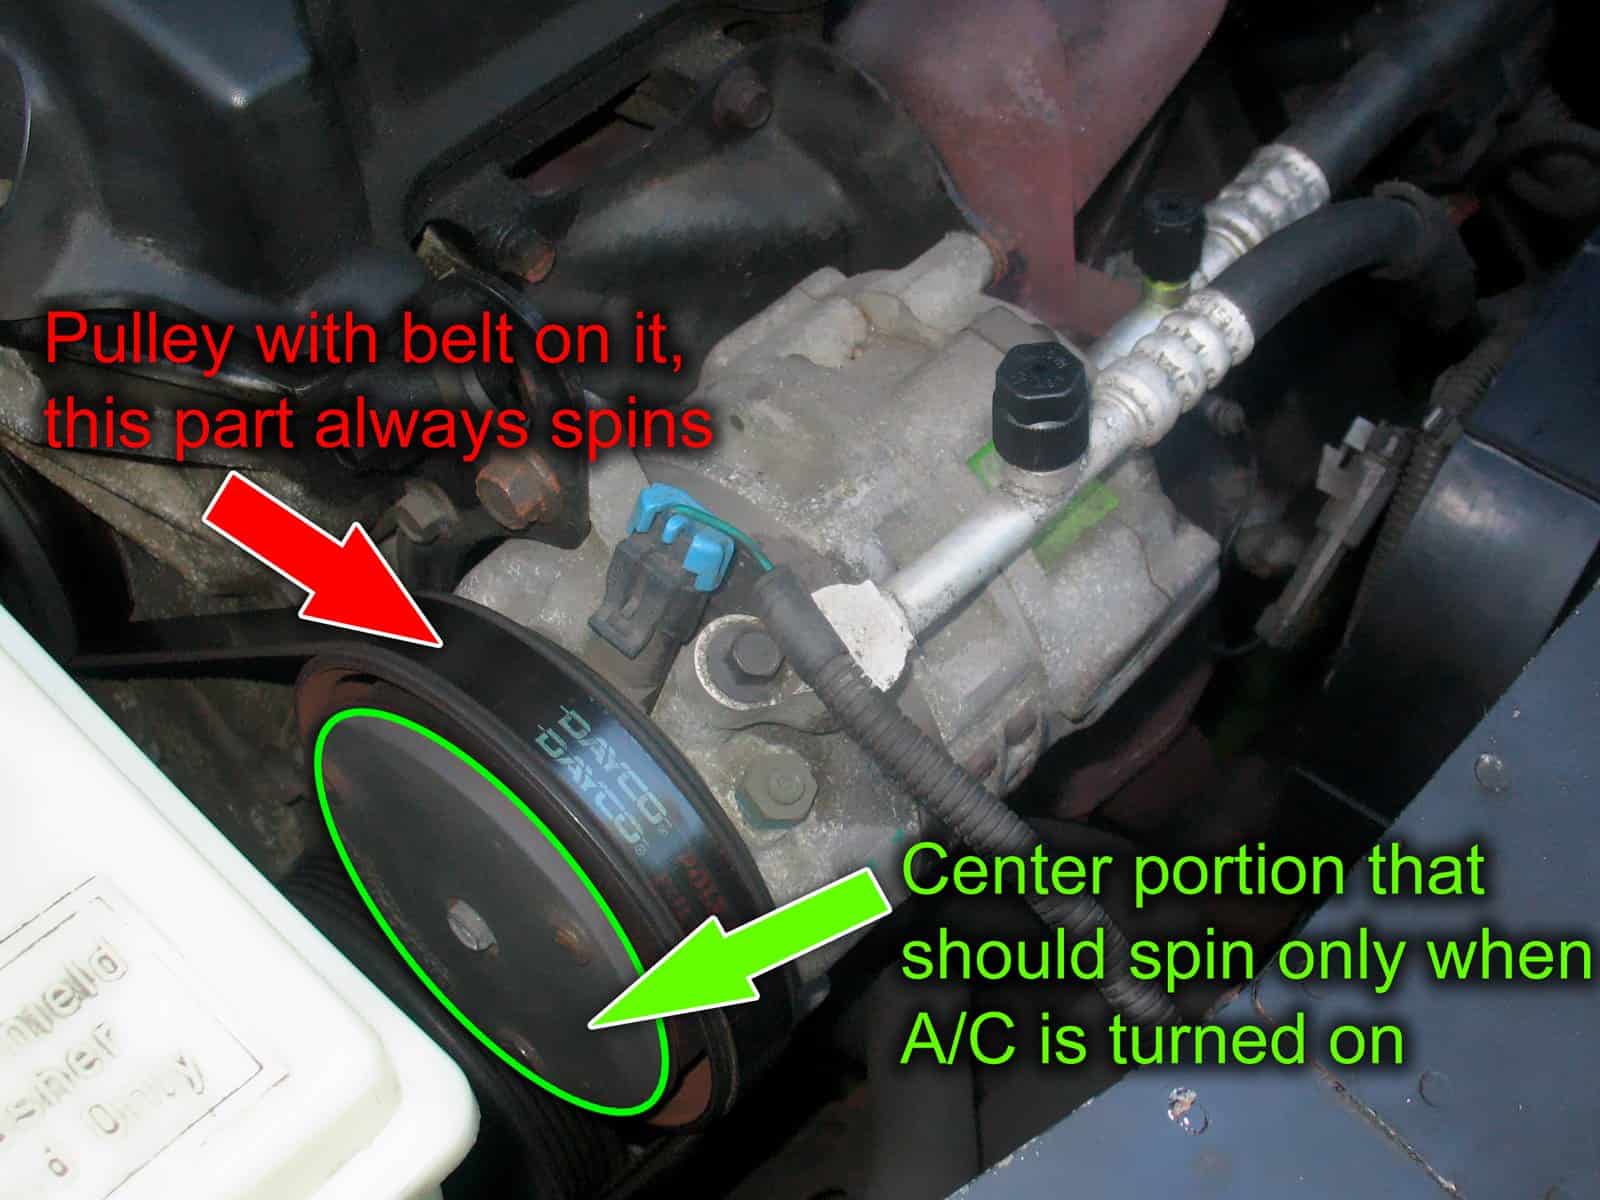
- Check your AC compressor can be done by listening for noises, checking wires, using a multimeter to check that proper voltage is getting to it, looking for any damage, and checking the compressor clutch.
- To check your condenser, clean off any clogged fins and check for blockage using a temperature reader in different areas. The following videos can help with this and other AC issues. Check out this video and this video.
- To check your water pump, look for any damage to the water pump, a loose pulley, or strange sounds; check the belt for wear and leaks in the pump or on the ground under the pump.
What to do If You Are in Traffic and Your Car Overheats?
Being stuck in traffic can make the problem a lot more stressful. So if you face such a situation, you can follow these tips:
- Pull over as soon as it is safe to do so.
- If you can’t pull over, turn off the AC and decide if it is safe to put the car in neutral or park when you come to a stop light. This might help the engine cool a bit.
- Adjust your car’s AC temperature to hot or to the red zone, and increase the blower speed to full. This might be uncomfortable, but it can help dissipate the heat.
- Once you can pull over safely, put the car in park, and turn off the engine, keep the key in on mode, as this will keep the fan running in some car models. If the fan isn’t on, you might need to replace it, or it could be one of the problems mentioned before.
- Open the hood if it is safe to do so. If steam is coming from your car, wait a bit. If the hood is hot, wait until it is safe to open. This can let out excess engine heat.
- After the engine is cool, for 30 minutes possibly, get help or check for leaks. If possible, you could try patching up leaks with radiator hose tape or tightening a clamp and then filling the radiator up with water or coolant. This is a temporary fix; a full engine check should be done to find all problems.

A car overheating when the air conditioner is on is a very common problem, and you can find solutions yourself with some time and effort. The above-mentioned remedies might help you if you are willing to do some research and work.
If your car still overheats with the AC after trying your solution, ask a service center you trust to help out. Do not ignore this issue. Overheating can cause major damage to your car. Finding the solution should be a priority to help you save time and money.
If you want to find out more information about AC issues, you can try these articles below:
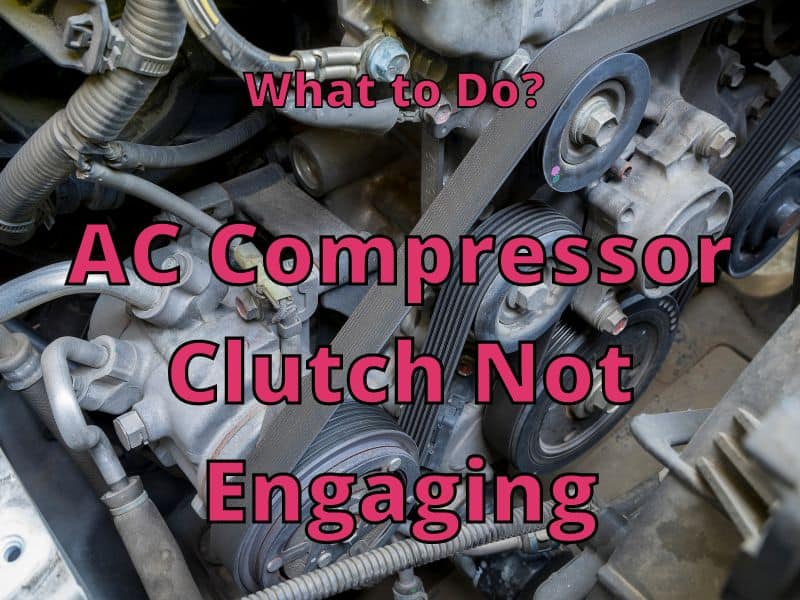
What Should I Do If AC Compressor Clutch Is Not Engaging?