
Are you shocked by those trips to the local garage when you get charged so much for a simple car tune-up? I agree. Tune-up is a vital part of car maintenance and should not be overlooked. Instead, why not consider doing your car’s tune-up yourself?
To perform a tune-up, you need the right tools and parts to ensure your car operates at full capacity. Check your fluids, tires, brakes, and routinely replaced parts to ensure your car is fully tuned up.
To perform an auto tune-up, all you need is some spare time, quality tune-up parts and tools, and the right resources.
What is an Auto Tune-Up?
An auto tune-up is nothing but a procedure where you inspect each and every component under your hood to check for signs of damage and to clean out the debris and grime that had accumulated on various auto parts. It’s nothing but regular car maintenance to keep your vehicle running smoothly.
Performing preventive maintenance and replacing all worn-out parts at regular intervals not only improves your engine performance and reliability but also protects your investment and extends the life of your vehicle. Tune-up interval varies from one vehicle to another, so it is advisable to check the owners manual to understand what and when your car needs a tune-up.
Tools and Auto-Parts Required for a DIY Tune-up
Some of the basic tools and auto parts you’ll need when tuning your vehicle include:
|
Torque Wrench |
Adjustable Wrench |
Pliers |
Socket and Ratchet Set |
Car Jack |
Phillips and Flathead Screw Drivers |
|---|---|---|---|---|---|
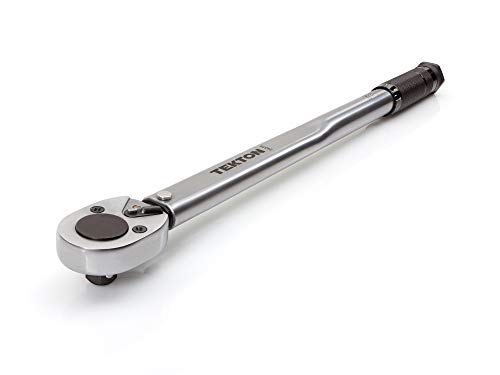 | 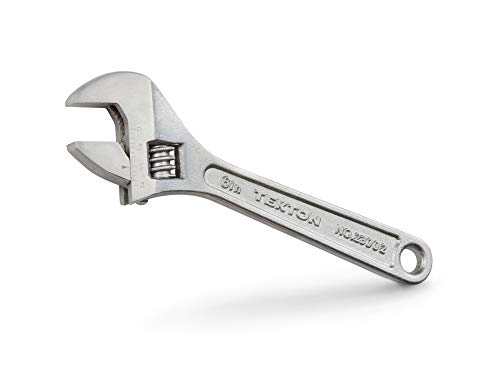 |  AD AD | 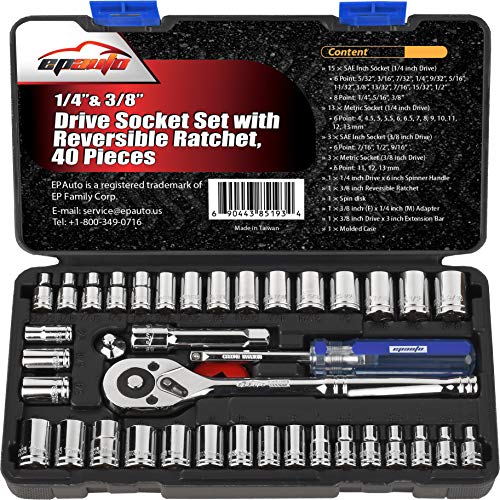 | 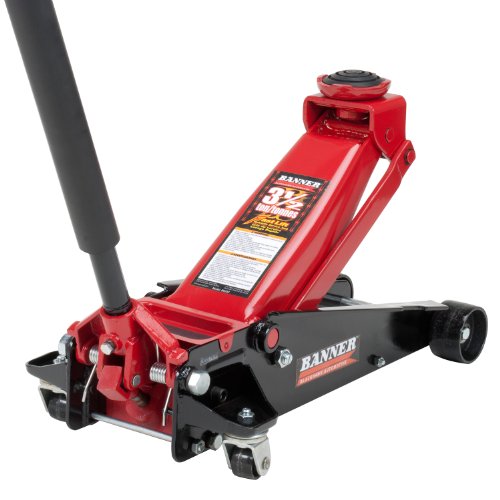 |
Other tools that will make the job safer and easier are:
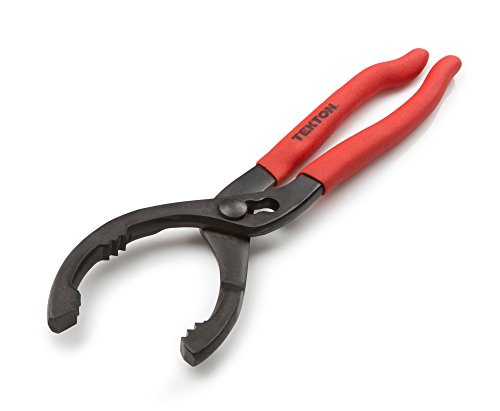
| Oil Filter Wrench |
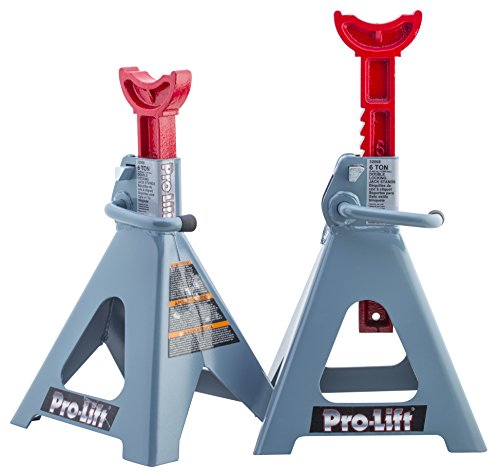
Jack Stand |
Tire Stopper |
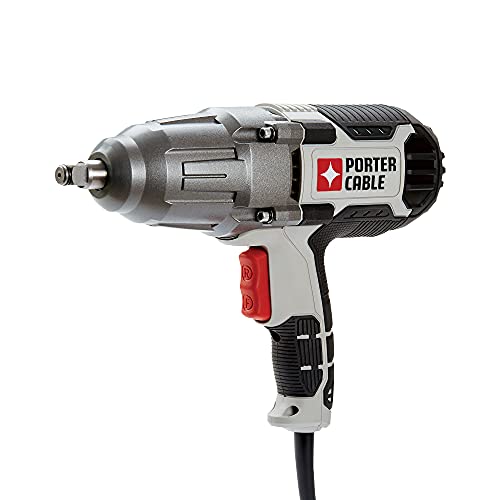
Impact Wrench |
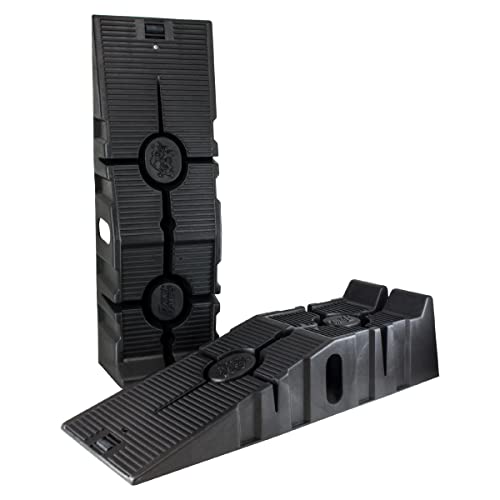
Tire Ramps |
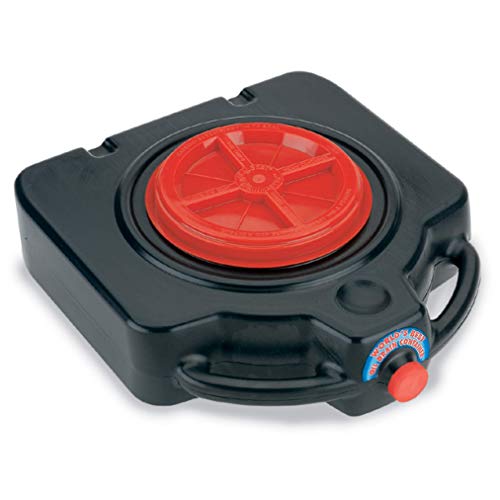
Fluid Drain Pan |
|---|---|---|---|---|---|
 |  |  |  |  |  |
If you’re doing a replacement, then you may need to buy spare auto parts too. Some common auto parts that are replaced when tuning up your car include spark plugs, plug wires, plug coils, oil filters, fuel filters, air filters, cabin air filters, engine oil, brake fluid, coolant, transmission fluid, and power steering fluid.
There is no big deal in picking the right tool, except they have a good grip and hefty handles. Auto parts can be purchased from any seller online; just enter your car’s year, make, and model number to get the spare parts you need for your car. Every car is different, so make sure to enter the right information to get the right auto spare part.
Car Tune-Up:
An auto tune-up may be as simple as a basic inspection or may sometimes involve a complete overhaul of the car. Here let’s discuss what is typically included in a tune-up and why each inspection is necessary for the well-being of your car.
1. Oil: Check and Top-up, and Change the Oil if Required
The most important part of preventive maintenance is to keep up with your car’s oil level. Here, let us discuss checking your car’s oil level and knowing when to top up and when to change.
Assessing your car’s oil will tell you two things:
- How much oil your car has?
- If that oil needs to be changed?
When to Top-up Oil?
Check your car’s oil level frequently to ensure that the level is proper, and add more oil if the level is too low. Oil check is easy; With the engine off, open your car’s hood and look for the dipstick. Pull out the dipstick and wipe it off clean. Then, insert the stick back into the tube and push it down. Now, pull it out and check both sides of the dipstick to find where the oil is located about the two indicator dots. If the oil level is at the lower dot or just slightly above it, then it’s time for a top-up.
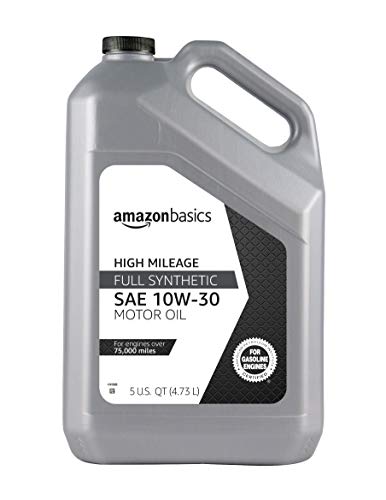
Add high-grade motor oil that is appropriate for your car engine using a funnel and recheck the oil level once you have topped it off.
When to Change Oil?
Check the color of the oil, and if it is cloudy and gritty in texture, then it is contaminated with atmospheric elements like dust, metallic deposits, and rust. Another aspect to check is the engine sound; if your engine seems to run louder than usual, then it can be a sign that your oil has gone bad. Contaminated oil often has less lubricating qualities that are essential for the smooth functioning of your car.
How to Change the Oil and Oil Filter?
Changing oil yourself is easy, and you’ll save a lot. Tools required for oil change include a wrench set, safety glasses, rubber mallet, rags, oil pan, funnel, and oil filter wrench. In addition to these, keep the following materials handy before starting the project: Engine oil, an oil filter, a container for collecting oil, and an oil filter gasket.

AD
AD
Steps Involved in Changing Your Car’s Oil
- Look for drain plugs under your car.
- Place a container to collect oil under the oil drain plugs.
- Open the drain plug and allow oil to drain into the container.
- At the top of your engine, you can find the oil filler cap. Now remove the cap and unscrew the oil filter by using your hand or wrench.
- Empty the oil from the oil filter into the oil pan. Moisten the gasket on your new oil filter with fresh engine oil.
- Screw the new filter into the engine.
- Once all the oil is drained, replace the oil drain plug using an adjustable wrench.
- Use a funnel to pour fresh engine oil (1 quart) through the oil filler hole.
- Replace the cap and run the engine for 30 to 60 seconds.
- Switch off the engine and wait for 5-10 minutes for the oil to settle and check the oil levels.
- Keep adding more oil and check using a dipstick after each addition until the oil level reaches the “Full” line.
- Remove the drain pan from underneath your car and do a test drive.
- Check the oil level using a dipstick after 5 to 10 minutes of your test drive, and if everything is ok, you are good to go.
How Often to Get an Oil Change?
To keep your engine functioning to its maximum potential, change the engine oil every 3000 miles. However, the service interval of 3000 miles varies from one vehicle to another. So, check the car owner’s manual to see what it recommends.
2. Tires: Check, Rotate and Replace, if Required
Inspect Tires
Evaluate your tires by checking their tread depth, tire pressure, tire condition, and age. The Penny test is a simple way to evaluate tread depth. Just place a coin upside down in the tread, and if you can see Lincoln’s head, then it’s time to change your tire. Pressure gauges can help you to check tire pressure. You can find one in most gas stations or buy one from auto parts stores. Read the tire’s pressure using a pressure gauge and check it against your vehicle’s recommended pressure. Keeping your tires inflated to the recommended specifications improves mileage and handling. In addition, you can also look for any damage to your tires, like cuts, scrapes, bulges, punctures, cracks, or bumps that require a tire replacement.
Rotate and Replace Tires, if Necessary
You should rotate tires and reposition them periodically, using the correct crossing pattern recommended by the vehicle manufacturer. Tire rotation spreads wear out evenly across all four tires, and its tread life is maximized.
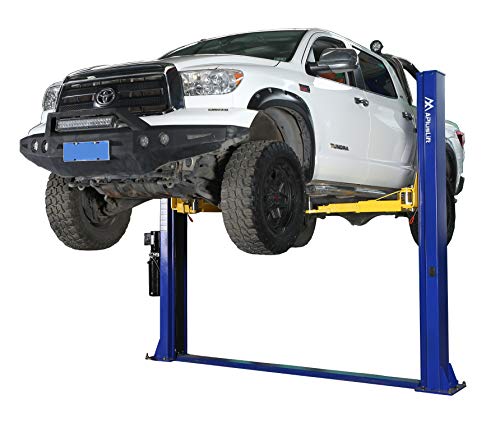
Tire rotation might look like a tedious job for you, but with the right tools, you can do it voila. Use a hydraulic floor jack to lift your car, and once done, use jack stands to rest the car on top while switching tires.
Steps Involved in Rotating Your Car’s Tires
- Decide how important this is to do yourself. Lifting your car off the ground can be extremely dangerous if you make mistakes. Tire stores can do this service relatively cheap, so paying $50+ dollar might be your choice.
- If you are ready to do it yourself, make sure you have the right tools and stay safe.
- Find a level area to work at.
- Place the car in park and put the emergency brakes on.
- Place tire stoppers behind the back tires and in front of the front tires.
- Now you can loosen the lug nuts for each tire before jacking up the car. This will prevent the car from moving too much while jacked up.
- Use a car jack to lift your car and place jack stands under areas marked on your car. If you’re not sure where to place the jacks, it is usually near the outer edge of the car bottom, right in front of the back tires and right in back of the front tires. Look at the owner’s manual to be sure.
- Use your ratchet set or fingers to take off the lug nuts for each tire. Take off the tires and put them gently down to the side, being careful not to scrape the rims. Keep the lug nut at the same location, possibly in a plastic sandwich bag or container under the brake rotors.
- If there are little arrows on the side of the wheels indicating which way the wheel should turn, then you have directional tires. You’ll switch the back tires for the front tires, but keep the tires on the same side of the car.
- If you have non-directional tires with a normal tread pattern on your tires, then it depends on whether you have front or rear-wheel drive. For front-wheel drive, take the front tires straight back, staying on the same side of the car, while the back tire moves to the opposite side of the front. For rear-wheel drive, take the front wheels to the opposite sides of the back, and move the back tires straight forward to the front staying on the same side of the car.
- After you have rotated the tires, hand-tighten the lug nuts so each tire is securely fastened, or you can use an impact wrench to get them snug but not tight.
- Start the process of lowering your car to the ground. Tighten each nut in the correct pattern and the correct manufacturer recommendation.
- You’ll need a torque wrench or an impact wrench that can tighten each nut to the correct amount of foot-pounds that is stated for the lug nuts in the owner’s manual. TIP: It can be helpful to use a car jack to raise the car tires a bit off the ground so that when you tighten the wheel, it goes on easily.
- After you tighten the lug nuts in the correct star-like pattern, you can slightly shake the tires to see if they were seated correctly and if there is no play. It’s helpful if the tire is a bit off the ground when doing this.
- Check the oil level using a dipstick after 5 to 10 minutes of your test drive, and if everything is ok, you are good to go.
How Often to Rotate Your Car’s Tires?
To keep your tires functioning well, rotate them about every six months or 5000 to 8000 miles. You’ll notice the tire tread is wearing thin on the inside or outside if you don’t rotate them, and then you need to replace them if the tread is too low.
Tip: If the tread doesn’t reach the head on a penny when Lincoln’s head is facing down, then it’s time to replace your tires.
3. Fluid Levels: Check, Top-up and Replace Them, if Required
A great way to keep your car in good running condition is to check the following fluid levels frequently. It is an easy and straightforward process, but it takes some know-how.
Transmission fluid: Check Fluid Levels, Top-up or Replace Fluid and Filter, if Required
Transmission fluid keeps your transmission lubricated, which can prevent your car from developing many expensive issues. Checking transmission fluid level is similar to an oil check; use the dipstick method. Look for a dipstick handle sticking out of the transmission, which can be found toward the rear of an in-line engine on cars with rear-wheel drive. However, for front-Wheel drive cars, you can find the dipstick sticking out of the transaxle. There are several types of transmission fluid, so check the owner’s manual to find which type of fluid is required for your car.
Steps Involved in Checking Your Car’s Transmission Fluid Level

Pull out the dipstick. (do this when your engine is on and still warm, with the gearshift in neutral or park and parking brake on )
Check the fluid by rubbing it against a white paper towel to see if it’s clear or pinkish. If you find particles in it or it smells burnt, then it is time to replace transmission fluid.
Wipe off the dipstick using a clean, lint-free cloth; re-insert and pull it again and see if it touches the “Full” line on the dipstick. If the fluid is clear, then you can refill with extra transmission fluid.

Steps Involved in Replacing Your Car’s Transmission Fluid

Here are the basic step-by-step instructions to change the transmission oil. If you have a sealed transmission like many newer cars, you won’t be able to use this method.
- If you are ready to do it yourself, make sure you have the right tools and stay safe.
- Find a level area to work at.
- Place the car in park and put the emergency brakes on.
- Place tire stoppers behind the back tires.
- Use a car floor jack to raise the front of your car, or use tire ramps. For safety place, the jack stands under the front of the car jack stand points.
- Keep a container under the transmission oil pan to collect oil.
- Allow the oil to drain by loosening the pan bolts. Now, fluids will gush out and get collected in the container (Caution, the fluid may be hot, so let your car cool down before servicing).
- Replace the transmission pan filter and gasket, and clean the transmission pan and transmission mating surfaces.
- Once the fluid is completely drained, fix the new filter and gasket, and tighten the bolts.
- Refill with new transmission fluid using a funnel.
- Place the dipstick in its position, and you are done.

How Often to Replace Your Car’s Transmission Fluid?
To keep your transmission in good working order, you should replace the transmission fluid about every 30,000+ miles. Every car is different, and some cars have a sealed transmission requiring replacing the transmission fluid less often. Look at your owner manual for more information.
You’ll probably want to go to the dealer service center if you have a sealed transmission. Each car has a different procedure for changing a sealed transmission, and the manufacturer may void your warranty if you try to change the fluid yourself.
Brake Fluid: Check Fluid Levels and Top-up if Required
To make your car’s brake system function properly, you must have enough brake fluid, and that too in good condition. Learn how to check the brake fluid in your car.
Steps Involved in Checking Your Car’s Brake Fluid Level

- Open the car’s hood when your engine is at rest and find the brake fluid reservoir.
- Before opening the reservoir, clean the outside of the reservoir thoroughly. Now, open the lid of the reservoir (careful not to keep it open for a long time, as it will absorb moisture from the atmosphere and spoil your system).
- Check for fluid levels. Most new cars have ‘max’ and ‘min’ levels mentioned in the reservoir.
- Add brake fluid only if its level has come down below the specifications. Also, use brake fluid with DOT specifications mentioned in the owner’s manual.

Radiator fluid: Check Radiator Fluid Levels and Top up or Change if Required

Your car’s radiator is the heart of its cooling system and directs coolant around valves and cylinder heads for absorbing heat, gets it back to the radiator, and safely eliminates them. Due to this, it is important to check radiator fluid levels frequently and add to them when necessary. Check the owner’s manual and buy the right coolant for your car type.
Steps Involved in Checking Your Car’s Radiator Fluid Level

- Raise your car’s hood and look for the radiator cap. A radiator fluid check should be done when your car is parked on a leveled surface, and the engine is lukewarm.
- Use a rag to wrap it around the coolant cap and slightly loosen it. (caution, it might be hot). Step back until the pressure releases, and then remove the cap completely.
- Check the level of the radiator fluid. Mostly it should be near the top.
- Besides the radiator tank, most cars will have a radiator overflow tank. Find its cap and remove it. You should normally find little fluid in there, but if you find coolant level to the top in the radiator overflow tank and little fluid in the radiator tank, then it’s time to send your car for servicing.
- If your radiator fluid levels are low, add fluid into the overflow tank. If your car doesn’t have an overflow tank, then you can add it directly into the radiator using a funnel. Use diluted coolant by itself and if you are using concentrated coolant, then mix 1 part of coolant with 1 part of distilled water and use. Make sure not to add fluid when your car is still warm.
Steps Involved in Replacing Your Car’s Radiator Fluid

Before starting the project, ensure you purchase the right type of coolant and the capacity requirements for your car.
- Park your car on a leveled surface and allow it to cool sufficiently.
- Disconnect the battery and jack the car up.
- Find the drain valve in your radiator and open the valve into a large bucket for the fluid to get collected.
- Once you have drained all the fluid, close the valve. Open the radiator pressure cap (found at the top) and check for fluid levels, which should be very low.
- Fill the radiator with water and close the cap. Start the engine and allow it to run for 10 minutes. This will help to drain all the coolant from the system completely.
- Now locate the thermostat (check the owner’s manual if you couldn’t locate it) and disconnect the radiator hose using a Phillips head screwdriver or pliers. Collect all the remaining coolant to drain on a bucket.
- Use a hand or socket wrench to unbolt the thermostat housing and remove it. (Be careful not to break anything). Use a razor blade or scraper to remove the thermostat’s cover and install the new gasket. Bolt the housing back into place and reconnect the hose.
- Allow your car to cool again and drain the water from the radiator. Add in the new coolant up to the MAX level and recap it. Run the engine and check again for coolant levels, and fill again if required. Shut the vehicle after 10 minutes and check the temperature. If it reads normal, the coolant change is complete.
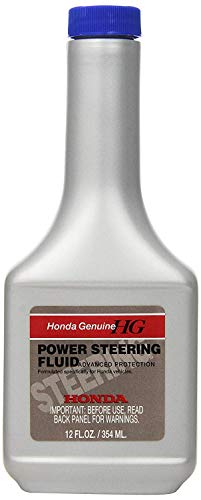
Power Steering Fluid: Check Fluid Levels and Top-up or Change if Required
If you are not checking your power steering fluid, then you are putting yourself at risk of losing control of your vehicle. Low-power steering fluid can put you in real danger, sudden loss of control, cause hard steering, and fatal car crashes. Here you will find detailed instructions on how to check power steering fluid levels and top-up if required.
Steps Involved in Checking Your Car’s Power Steering Fluid Level
- Locate the reservoir (mentioned something like power steering fluid only) that holds power steering fluid. Most cars these days come with plastic reservoirs that will allow you to check fluid levels without opening the cap. But if your car’s reservoir is opaque, then you’ll need to open the cap to check the level.
- Before you open it, clean the reservoir cap with a rag. Use the dipstick that is attached to the cap to check the fluid level.
- If the level is low than recommended, then it’s time for a top-up. Before you top-up, ensure there is no fluid leak. Once you are sure that there is no leak, open the cap and start pouring fluid inside and fill it to the FULL or MAX.
- Replace the cap and tighten it.

Steps Involved in Checking Your Car’s Power Steering Fluid Level

When you open the reservoir, older fluid may smell burnt and appear to be darker in color. In such cases, you may want to change the power steering fluid. Use fluid according to the specifications given in the owner’s manual.
- If you are ready to do it yourself, make sure you have the right tools and stay safe.
- Find a level area to work at.
- Place the car in park and put the emergency brakes on.
- Place tire stoppers behind the back tires.
- Use a car floor jack to raise the front of your car, so your tires are off the ground about an inch. Also, use jack stands under the front of the car at the jack stand points.
- There are two ways to empty the fluid:
- Use a pump/siphon or use a turkey baster to remove all of the fluid in the brake fluid reservoir. Remove as much as possible and put it in a container.
- You can do this step after step one or before. Find the hose that is connected to the power steering pump and remove the clamp so you can direct the hose into a container to collect the fluid. Some fluid is likely to spill, so some prefer to only do step one.
- Keep a container under the car to collect the fluid.
- When the fluid levels get very low, get into the car and carefully turn on the key, so the car is off but the steering wheel can move right and left. Turn the wheel all the way left and then all the way right. Doing this allows the steering pump to push all the remaining fluid out of the system. Then you can drain it or siphon it out. (DO NOT start the engine). Clean up the drips with a towel.
- Check the reservoir for filters, which can be cleaned, replaced, or left as they are.
- Reconnect the hose if you removed it. Pour in new power steering fluid using a funnel; ensure not to overfill. Replace the cap.
- Again get into the car and turn on the steering from lock to lock again. Check and add more oil if needed.
- Remove the jack stand. Start the engine for about 15 seconds, again turning the steering lock to lock. Check fluid level again.
- Go for a small ride and check fluid levels one last time. If it is in FULL or MAX level, you are good to go. Check for leaks in the following days.
4. Check the Condition of the Car’s Battery
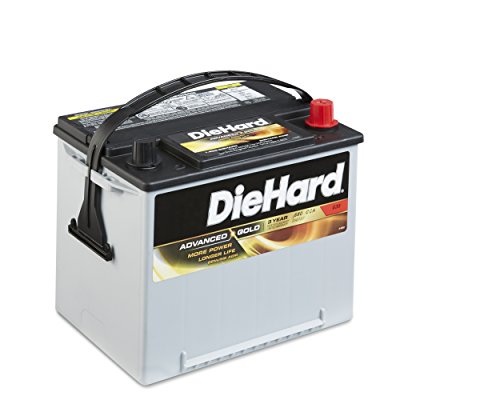
Always check your car battery for corrosion and other types of wear. To check battery condition, just follow the below steps.
Steps Involved in Checking Your Car’s Battery

- Open the hood and turn the headlights on for 15 minutes (do not start the engine)
- Check the condition of your battery, like leakages, bulging, and corrosion.
- Load-test the battery by keeping the headlights on. Crank the engine over and check for the brightness of the headlight bulb. When using the starter, you should notice the headlights dim only slightly. If it dims way too low, followed by a clicking sound, then it’s time to replace your battery.
5. Check the Car’s Brakes and Brake Pads

You can check the condition of your car’s brake with these simple instructions.
Steps Involved in Checking Your Car’s Brakes
- Listen to your brake when you stop the vehicle. If squealers are installed in your brakes, they will let out a loud, high-pitched sound, indicating that your brake pads have got thin.
- Push the brake down to the floor, and if your vehicle doesn’t come to a stop, then you got a worn-out brake pad.
- A vibrating or pulsating brake pedal indicates that your rotors are warped.
- If your car pulls on one side when it stops, then it means that one side of the brake is more worn than the other side.
Steps Involved in Checking Your Car’s Brake Pads

- If you are ready to do it yourself, make sure you have the right tools and stay safe.
- Find a level area to work at.
- Place the car in park and put the emergency brakes on.
- Place tire stoppers behind the back tires.
- Loosen the lug nuts on the front tires.
- Use a car floor jack to raise the front of your car, so your tires are off the ground about an inch. Also, use jack stands under the front of the car at the jack stand points.
- Remove the front tires.
- Locate brake pads and check their thickness on both sides, up and down, using a compass tool.
- Replace brake pads if it is less than 1/4inch (6.4 mm) thick; otherwise, they could damage your rotor.
- Follow similar steps for the back tires, always using safety precautions.
6. Replace the Car’s Air Filters
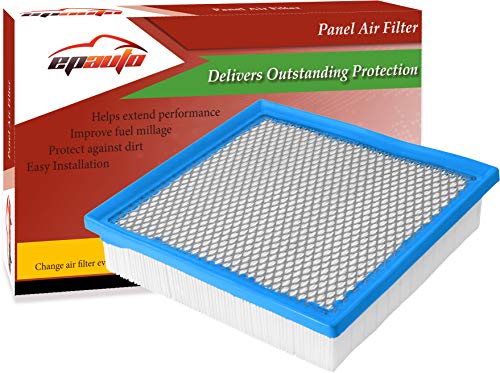
Replacing your car’s engine filter is very important, and your owner’s manual will give you a mileage estimate for how frequently you should change it. Replace air filters if they are dirty. This DIY manual will help you how to change air filters by yourself.
Steps to Replace The Car’s Air Filter
- Open up the hood and locate the airbox that houses the air filter.
- Remove the top of the housing by removing the screws or clamps.
- Remove the air filter and wipe off any dirt and debris from the housing and the seal using a rag.
- Check for damage or cracks to the exterior or interior of the housing as well the connecting air intake hose. (caution that no dirt falls into the carburetor)
- Fix the new filter, put the housing, and replace clamps or screws. Now, you are good to go.
7. Replace Cabin Air Filters

Cabin filters are very easy to replace and make your ride more pleasant. The best way to find when to replace cabin filters is either by olfactory, visual inspection or by noting how much airflow is being imparted. Replace them if it smells bad, are filled up, or restrict the airflow. Here is a detailed step-by-step procedure that will help you change the cabin filter easily,
Steps to Replace Your Cabin Air Filter
- Remove the glove box and remove the cabin filter cover.
- Remove the old cabin filter; Vacuum the region to remove all dust and debris.
- Install new filter after noting correct airflow direction (will be indicated by an arrow).
- Fix in cabin filter cover, then install the glovebox, kick panel, or cowl cover.
8. Spark Plugs: Check and Replace, if Required
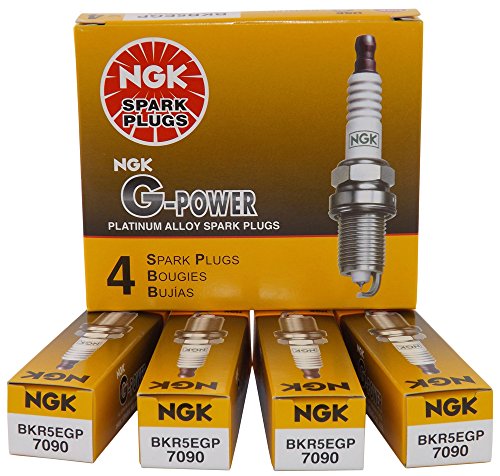
Spark plugs are an essential part that channels the electrical current from the ignition, thus igniting the fuel. Like any other part in your car, spark plugs undergo wear and tear. But the good thing is that it can be replaced easily. You may need tools like an extension bar, a ratchet socket drive wrench, and a spark gap gauge to replace spark plugs.
Steps to Inspect Your Spark Plugs
- Open up the hood and locate the spark plugs. You can check your owner’s manual for reference.
- Allow your vehicle to cool, and carefully remove the first spark plug.
- Check if it needs replacement. Remove one spark plug at a time and check for existing wear and tear like heavy, sooty build-up, missing electrode parts, evidence of burning, and white, limey build-up on the electrodes of the spark plugs.
- Measure the spark plug’s gap, which should be around 0.028 to 0.060 inches (use your owner’s manual for reference).
- If the gap is large than it should be, you can either try correcting the gap if the plugs are in good condition or replace new spark plugs.
Steps to Replace Your Spark Plugs

- Purchase the right spark plugs, and clean around the threads before reinserting the new speak plugs.
- Lubricate the spark plugs using an anti-seize lubricant before reinserting.
- Tighten the new spark plugs using a torque wrench. Use the correct torque. The spark plug box may have instructions or use an owner’s manual.
9. Spark Plug Wires: Check and Replace, if Required
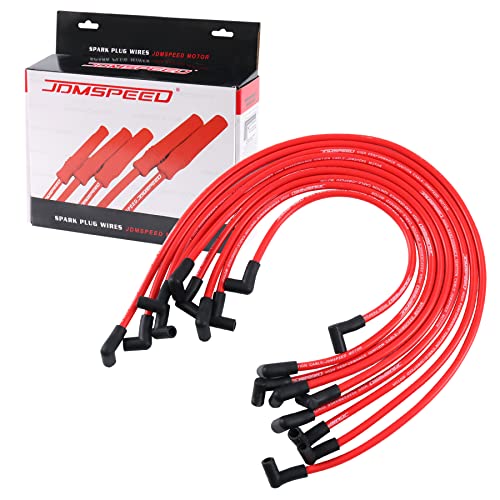
Some spark plug wires are made of carbon fibers, and over time, the delicate carbon fibers break down, and the fibers separate, creating high electrical resistance. Worn-out spark plug wires can create performance problems.
Other wires are made from the solid copper core, spiral wound, and grounded metal braid wires. Read below on how to replace them if needed.
Steps to Replace Your Spark Plug Wires
- Record wire locations using a camera to know how the wire attaches to the coil and the path they take to the plug.
- Sort the new plug wires based on their length.
- Use a spark plug wire puller tool (I recommend buying this) to twist the boot to break the seal from the plug and then pull it off from the old plug.
- Apply dielectric grease to both the plug and coil end of each wire. Route and press it onto the coil/plug until it clicks.
- Repeat the same procedure until you have changed all the plug wires.
10. Spark Plug Coils: Check and Replace, if Required

A faulty spark plug coil can create several frustrating problems with your car’s engine. With a little understanding, it is easy to identify a faulty spark plug coil and replace it.
In order to check if your coils might be faulty, run the vehicle for 30 minutes and then rap the module gently with the head of the screwdriver. If your car’s engine dies, then it indicates a faulty spark plug coil.
To check the resistance of the ignition coil, you can also use a test light or standard voltmeter.
Steps to Replace Your Spark Plug Coils
- Disconnect the battery and remove the ignition coil using a screwdriver or a wrench.
- Apply dielectric compound on the bottom portion of the new ignition coil.
- Insert the new coil and apply the appropriate torque using a torque wrench.
- Reconnect the battery and start the engine to ensure all the cylinders are firing properly.
11. Belts: Check and Replace, if Necessary

Belts often called Serpentine belts wear and tear over time. This means, there could be a serious impact on your car’s engine or system. Inspect belts regularly; read below to know what to look for.
Steps to Replace Your Serpentine Belt
- Check for squealing sounds: worn-out, loose, or damaged belts can cause squealing sounds while driving.
- Look for signs of wear by visual inspection.
- Inspect belts for places where the rubber is glazed or slick in appearance.
- Check the pulleys and the belt tension. Belt tension should be between 0.5 to 1 inch.
12. Hoses: Check and Replace, if Necessary

Hoses are designed to hold coolant under pressure and are subjected to extreme heat and cold, oils, dirt, and sludge. They are made of weak rubber components and are subject to damage very easily.
Steps to Check Your Hoses
- Check for squealing sounds: worn-out, loose, or damaged belts can cause squealing sounds while driving.
- Look for signs of wear by visual inspection.
- Inspect belts for places where the rubber is glazed or slick in appearance.
- Check the pulleys and the belt tension. Belt tension should be between 0.5 to 1 inch.
Steps to Check Your Hoses

- Ensure your car has cooled down and open the radiator.
- Unscrew the radiator drain plug, and drain all the fluids into a container.
- Remove hose clamps on both ends of the hose using a screwdriver.
- Fix the hose clamps onto the new hose and put it in the proper position.
- Fill the radiator with coolant as recommended in the owner’s manual.
- Secure the radiator cap and you are good to go.