A car has thousands of parts. Certain parts act as the heart and brain and play an important role in vehicle functionality. One among them is the transmission or the gearbox.
To fix a Ford 4R100 transmission, you will need to diagnose and fix various issues. Here are five common transmission problems and their solutions in the 4R100.
- A Slipping Transmission During Gear Shifts – Rebuild Your Transmission.
- Fluid Leak from Transmission – Buy a Used Transmission.
- Hard Shift between Gears – Buy a new transmission modulator valve and fix it by replacing the old one.
- Vehicle Stalls during Reverse – Remove the IAC valve and clean it or replace the IAC valve or the actuator.
- Transmission Works only in Reverse – Replace it with a rebuilt or re-manufactured transmission.
Without a transmission, the power from your vehicle’s engine can never help you achieve optimal speeds. Transmissions come in two types; manual and automatic.
The driver operates the manual transmission using a clutch assembly and gear selector to change gears. The driver has a higher level of control over the gears being selected and how the car transitions between gears.
The automatic transmission system is employed in many cars on the road today. It does not use a clutch; instead, a torque converter is used, which enables the automatic change of gears without manual effort.
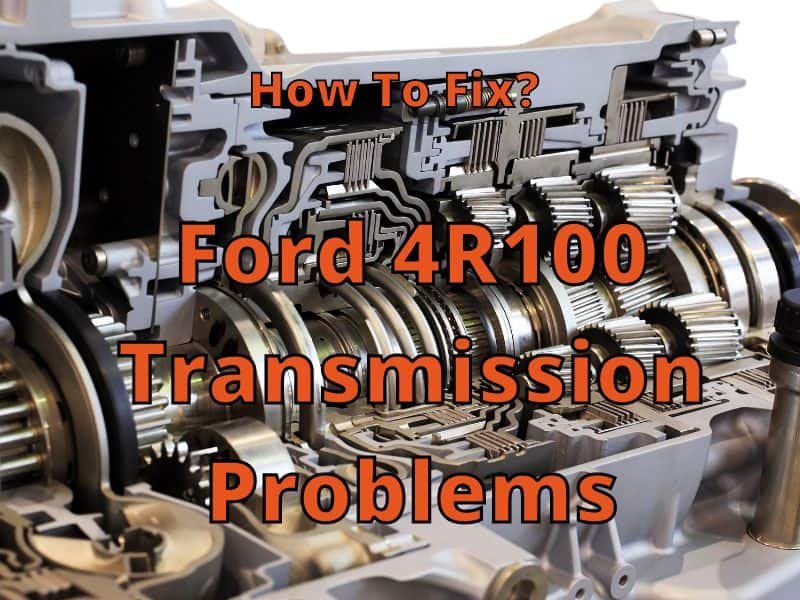
The 4R100 transmission is a heavy-duty automatic transmission designed by Ford. This transmission is an updated version of its predecessor, E4OD, and was launched in 1998. It forms the lifeblood of some of the most popular Ford heavy-duty models, including Ford Lightning, Ford Super Duty, Ford Expedition, Ford Excursion, and Ford E-series.
When you expose the 4R100 transmission to heavy loads or increased torque loads, it might create different issues. This guide will help you find solutions for the 4R100 transmission problems which you might encounter. You can try fixing it yourself or ask a mechanic.
4R100 Transmission Problems
The first step is to find out what is wrong with your 4R100 transmission. Identifying the problem will help you decide if you want to work on a solution or ask someone else to. The following are common problems encountered when using the 4R100.
- A slipping transmission during gear shifts.
- Fluid leaks from the front portion of the transmission.
- A hard shift between the gears.
- Vehicle stalls when in reverse.
- Transmission works only in reverse.
If you have experienced any of the above problems with your 4R100 transmission, the following solutions might help you resolve them.
Solutions for Your 4R100 Transmission Problems
1. A Slipping Transmission During Gear Shifts
Take the following steps when you notice that the transmission does not shift gears correctly.
- Check the Digital Transmission Range (DTR) sensor’s alignment. If it slips, then it might be the reason for the delayed transmission response by your car.
- Check if the overdrive light flashes. Check to see if a fuse might be the reason and replace it. If not, it may be a problem with your transmission’s solenoid. If so, that could be a short in the wiring or another issue that requires repairs.
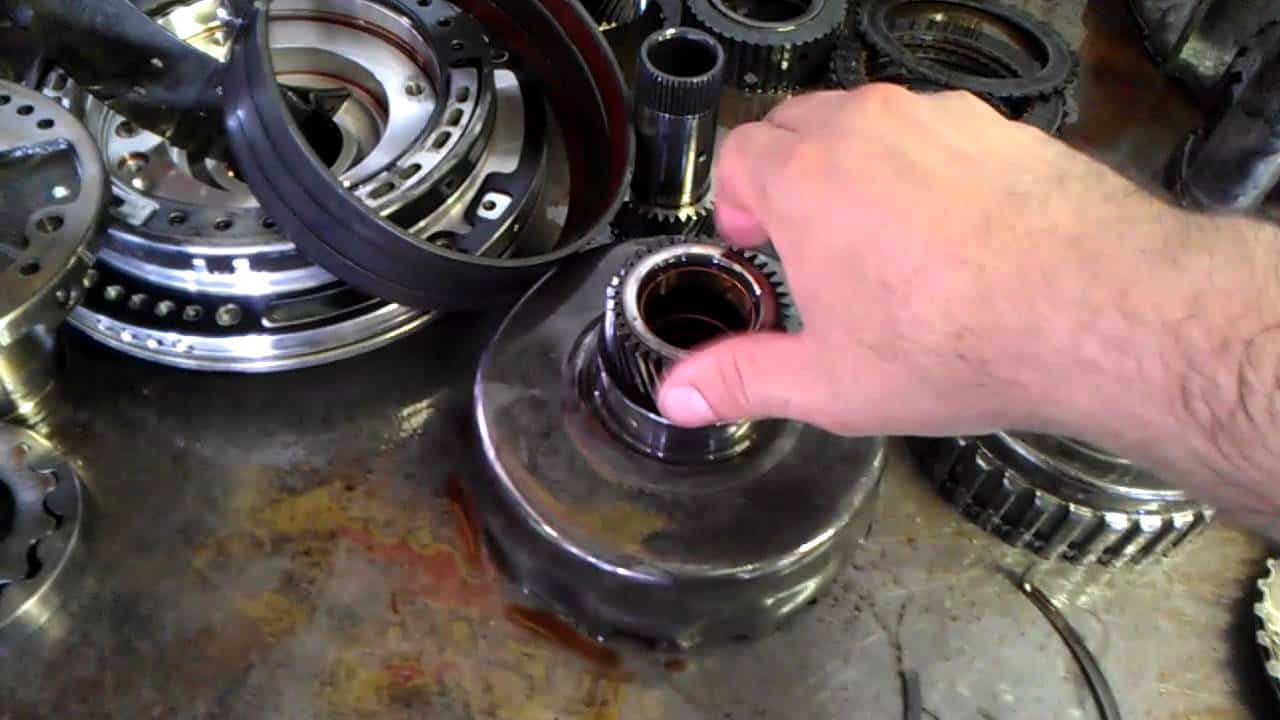
Rebuilding
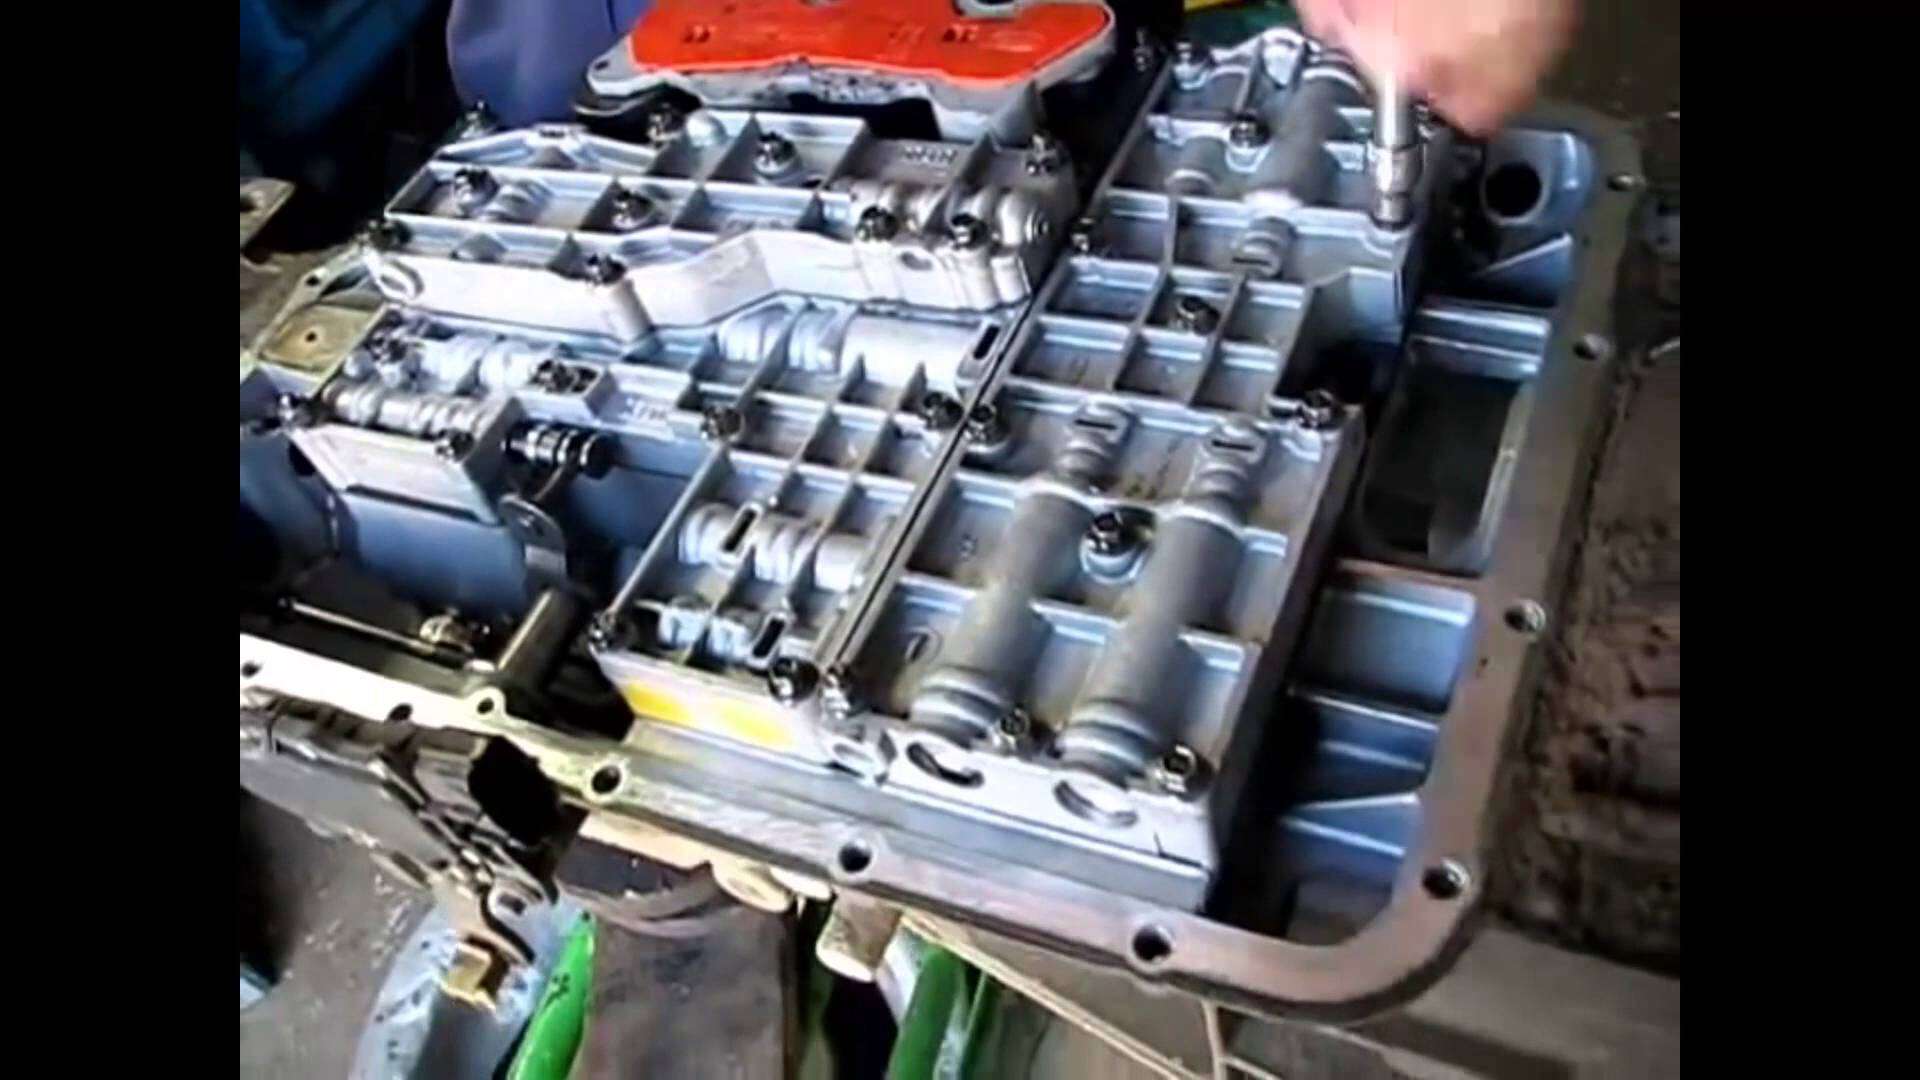
Rebuilding your transmission is a suggested solution for the above problem. You can save thousands of dollars by rebuilding your transmission rather than buying a new one. But rebuilding is a process where a lot of experience is needed. Experience and expertise will be put to the test with over 90 pieces to fit together just right. Professional help is suggested before doing anything gear related.
Rebuilding kits for 4R100 transmissions are available on the market. They come with all individual parts and also may include an installation manual, which assists you in rebuilding your transmission. They are one best options for experienced individuals who have worked with transmissions previously.

2. Fluid Leak from Transmission
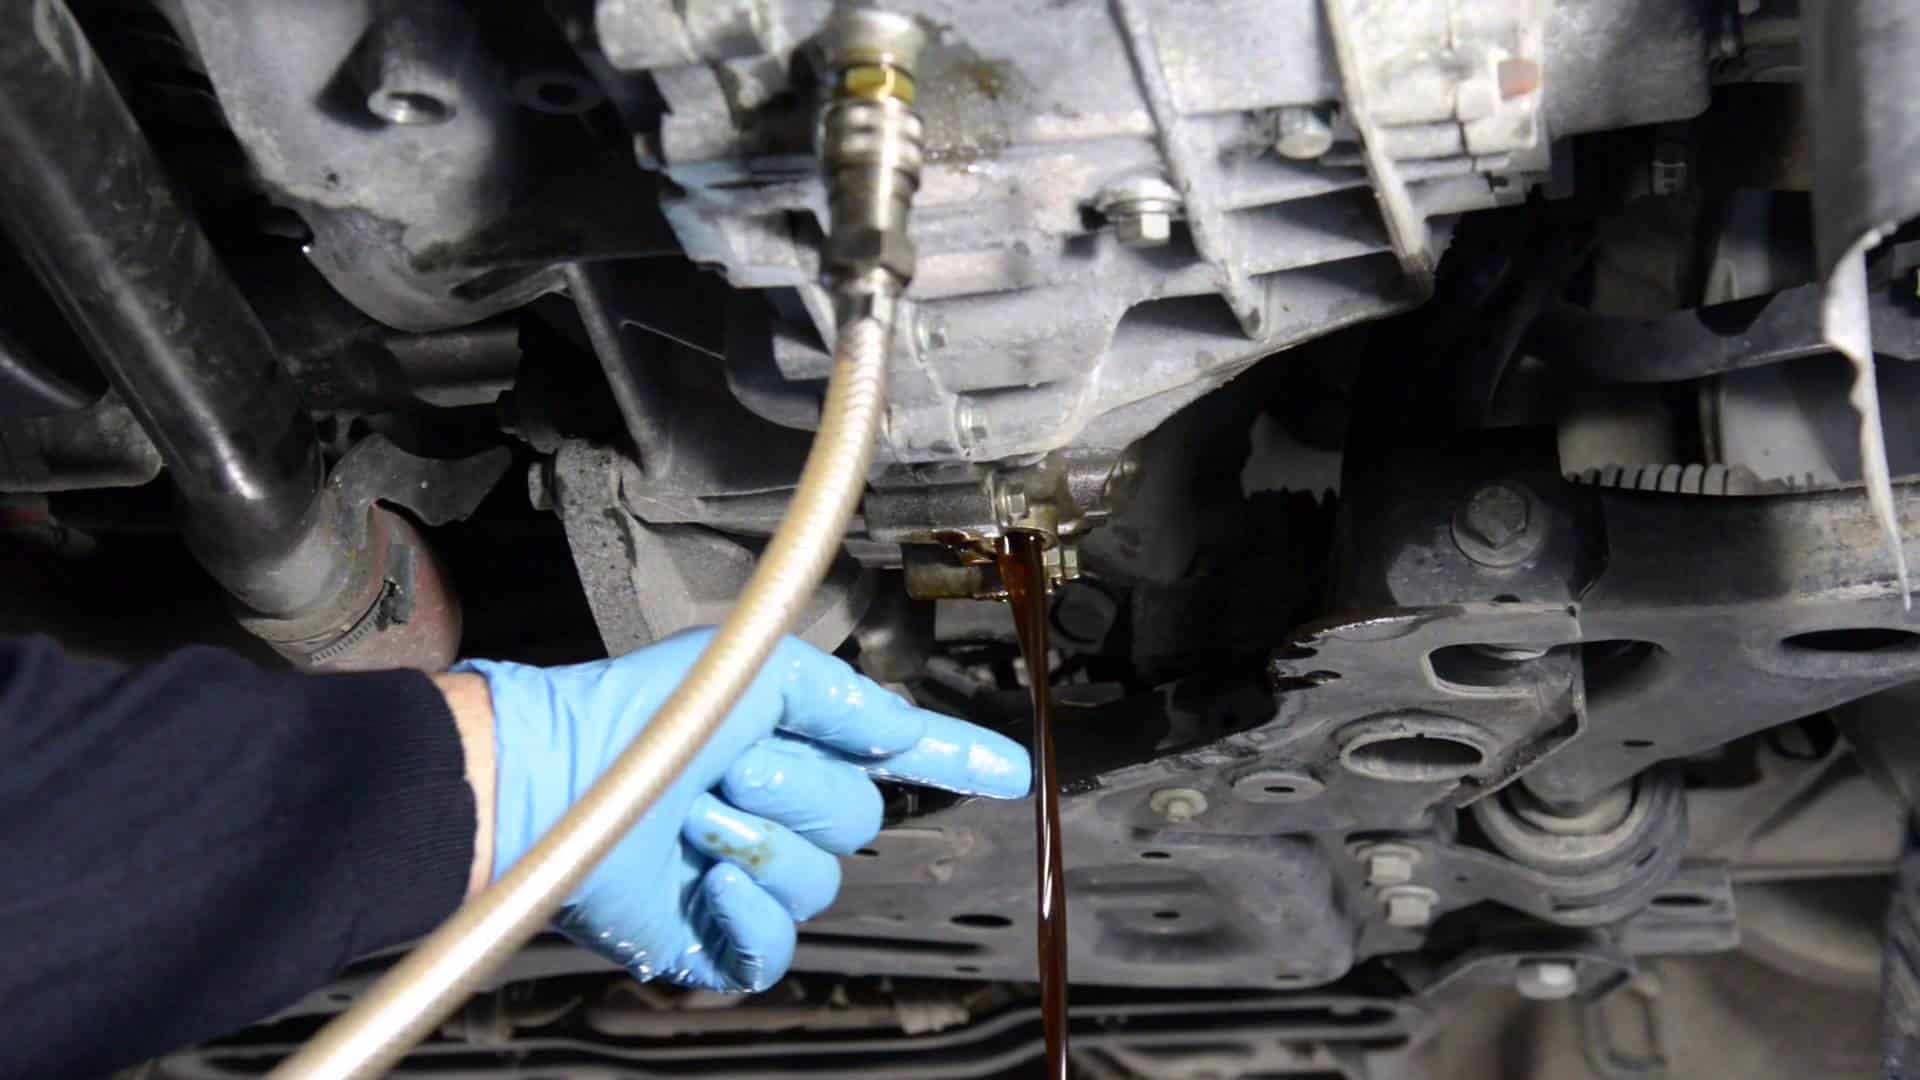
When you encounter a fluid leak from your transmission, you have to check the following main items.
- Front seal – If the vehicle has not been used for long periods of time, then there are possibilities that the seal has dry up and become brittle. Once brittle, the seal loses its elasticity and the capacity to hold the fluid, which causes the leakage.
- Hub of the torque converter – If the transmission has been in continuous use due to the non-stop usage of the vehicle, there are chances for the hub of the torque converter to leak fluid. This will require the replacement of the torque converter seal if this is the only problem.
Buy Used Transmission
In both the above cases, the transmission might need to be replaced. Depending on how much fluid was lost and how long you ran the transmission without the proper fluid levels. A small leak shouldn’t cause major issues. Refill the fluid lost and get the seal fixed as soon as possible.
If the transmission is not fixable, you can buy a used transmission or rebuilt one for a lower price. They are an assembled version, where the transmission is rebuilt. Again, note that you should buy a used transmission from a reputed manufacturer who provides a warranty for the parts.
3. Hard Shift between Gears
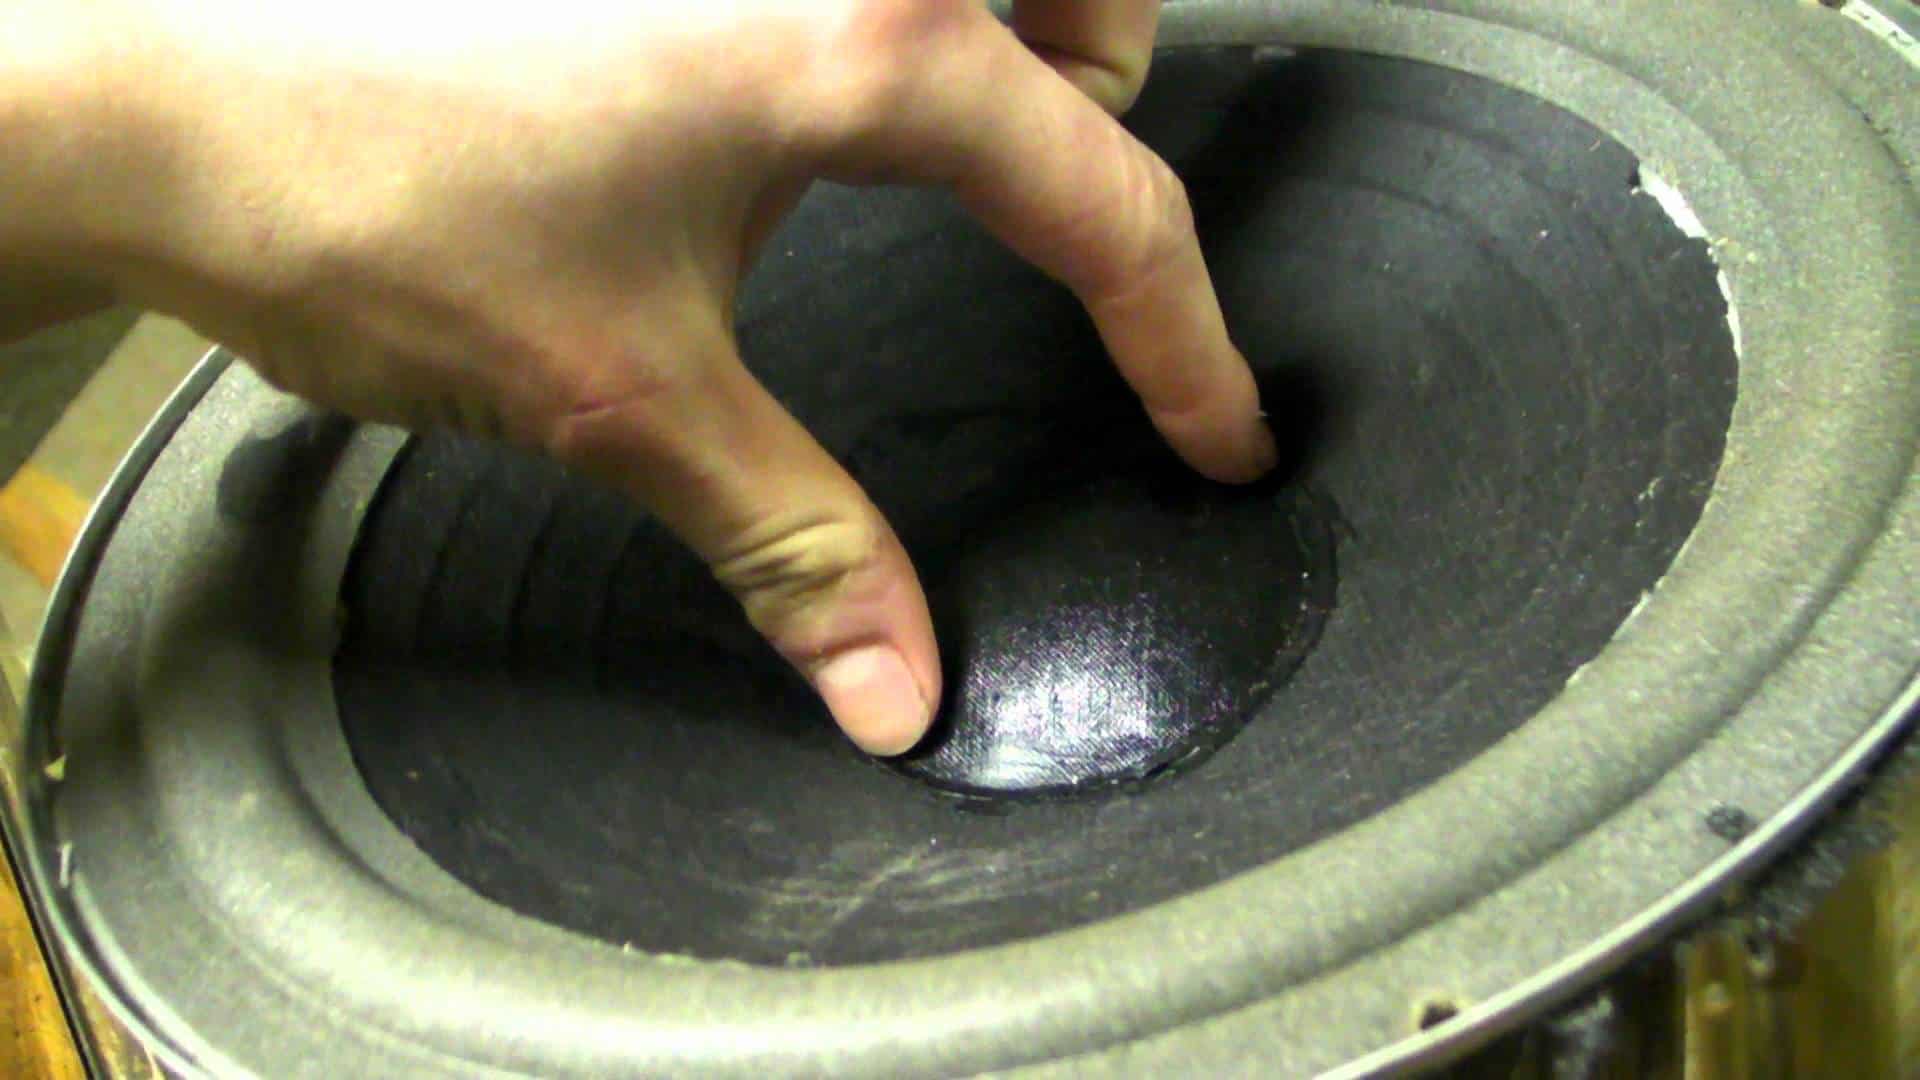
If you face a hard shift between gears, the problem could be due to the accumulator, which is stuck in its bone or broken. Carefully remove the accumulator from the transmission, and check the bore for any marks of wear. Clean the bore with a soft and dry cloth. Check if the grooves on the accumulator are not clogged or damaged.
Another possible problem could be due to a defective line modulator valve. But if it is a problem, it will also show up on all other gears. To fix this problem, you have to purchase a new transmission modulator valve and fix it by replacing the old one.
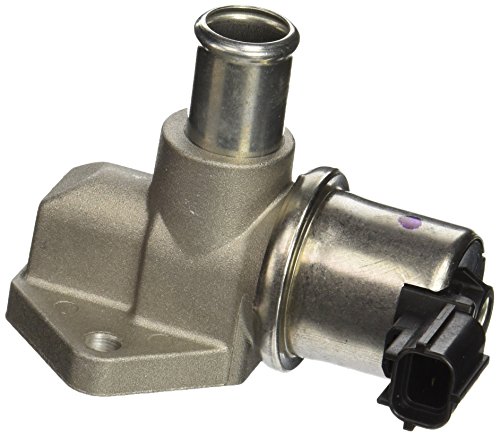
4. Vehicle Stalls during Reverse
This problem may be due to malfunctioning of the IAC Valve. The Idle Air Control (IAC) valve is a device that is commonly used in modern-day vehicles to control the engine’s idling rpm. It is designed to last the lifetime of the vehicle. The premature failure of the IAC valve is due to partial or complete jamming of the actuator, where it loses its smooth control, thus resulting in frequent stalling of the engine.
This problem can be resolved by removing the IAC valve and cleaning it. Most of the time, this would solve the problem. But if it doesn’t work, then you have to replace the IAC valve or the actuator.
5. Transmission Works only in Reverse
In this case, check the forward clutch assembly, which may have worn out if the rubber seal rips and the clutch can burn and stop working. This may need to be replaced.
Also, your forward planetary gear may have issues. These have a tendency to have planet and spline failure. Either problem demands a replacement of parts in the transmission and any other damage that may have occurred.
A rebuilt or re-manufactured transmission may be one solution if there is too much damage. It may have an upgrade that prevents previous issues from occurring. You can try installing the transmission yourself, but you’ll likely need help. This site gives some details about how they installed their transmission.
If you purchase a re-manufactured 4R100 transmission from a reputed manufacturer, you can get a warranty of up to 3 years rather than a 90-day one. Companies that remanufacture the transmission can also be contacted easily over the phone or by email and are available to answer any question you might have. They should also offer an entire replacement of the transmission if it fails to operate within the warranty period. Make sure to ask.
Conclusion
We hope that this guide has something helpful you can use to help with your questions about 4R100 transmission problems. Once you become familiar with rebuilding transmissions, you can fix your own and upgrade to better parts if needed.
If you start with the smaller fixes, like installing a transmission cooler, you gain experience and can work towards fixing transmission issues. Always get help from those with plenty of experience.
To obtain maximum performance from your 4R100 transmission, you’ll need to inspect the components manually and check their operation routinely. Early diagnosis of any transmission issues should be a priority for you. Your transmission can operate well for long periods, but remember to get it serviced regularly and avoid modifying it.
Finding a mechanic with 4R100 experience or doing plenty of research should be your first goal to help fix your transmission or replace it.