Most car windows are made of glass and tend to accumulate dust, dirt, moisture, and many sticky particles. Washing your car weekly is ideal for cleaning windows, yet other best practices can also be helpful.
After you wash your car, your windows may still have particles, smudges, and streaks. Here are the top 5 ways to help you get clean windows.
- Newspaper and Glass Cleaner
- Thick Microfiber Towel
- Wax Application
- Squeegee and Towel
- Glass Cleaner
Let’s find out more details about how each method for cleaning car windows works.
1. Newspaper and Glass Cleaner

Paper is a fast and easy way to wipe windows if you don’t want to leave any streaks or lint. You don’t need to wash anything after and can leave the paper to dry and recycle it if using soap and water.
You may use soap and water to spray on the window, but try a car glass cleaner for a better clean.
How does it work?
- Use only one piece of newspaper at a time. (Try not to get it too wet.)
- Lift the windshield wipers.
- Some people like to leave it flat to absorb water quickly, but you may also scrunch it a bit and roll it around to a dry side to continue absorbing water well as you rub down the window.
- It helps you avoid grease or other unwanted particles on your towels. The downside is your hands may get inky.
- INSIDE/OUTSIDE – This technique will work for both sides of the glass.
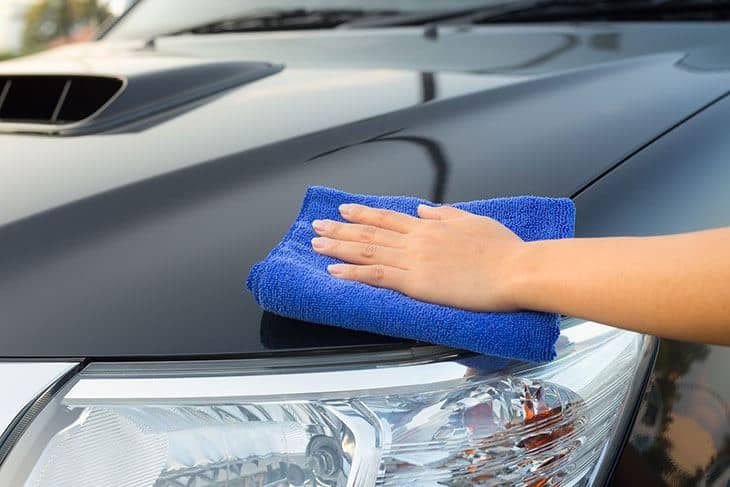
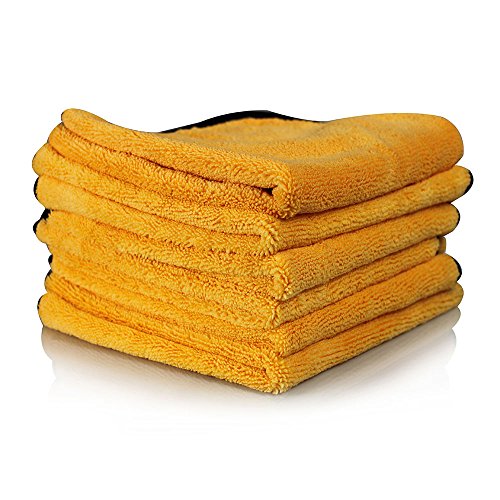
2. Thick Microfiber Towel

A thick microfiber towel is great for absorbing water. As you rub down the window, you’ll be more likely to prevent steaks since the water is absorbed so well.
How does it work?
- Lift the windshield wipers.
- Fold the microfiber towel so you can easily rub down the window, and turn the towel over to a dry side once you start to see any streaking.
- Sometimes a microfiber towel must be washed first to absorb water well.
- Be sure to use a towel that has only been used for cleaning water off the car since microfiber towels that are washed but look dirty are less effective at absorbing water and may have embedded dirt particles that may be harsh on some car surfaces.
- INSIDE/OUTSIDE – This technique will work for both sides of the glass.
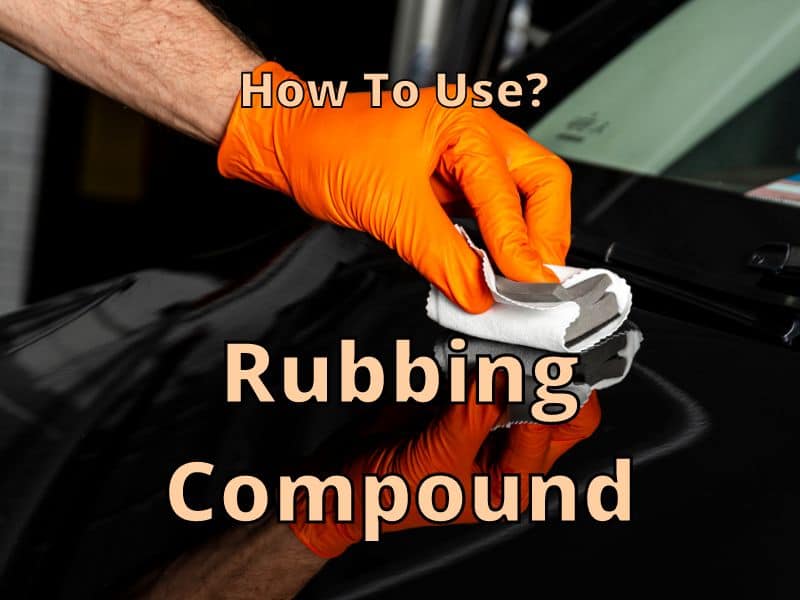
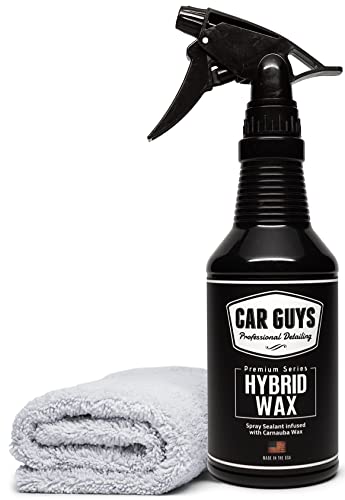
3. Wax Application

This method is more preventative and useful as a cleaner. Several types of wax applications can be used on your car and windows. The wax will remain for about a week, but during that time will provide a protective layer for your glass so that when you wash it again, particles will wipe off much easier.
How does it work?
- Lift the windshield wipers.
- Apply a wax that specifies it’s OK for windows. Wipe until the wax is clear and the window is clean. (Use a towel that is different than the one used to wipe the water off the windows.
- Try not to wipe the window or use the wipers unless they are needed.
- It should be fairly easy to wash your car or clean your windows within a week or so.
- INSIDE/OUTSIDE – This technique will work on the outside. It may be unnecessary and use extra time and money if you use it on the inside.
4. Squeegee and Towel

This is a fast technique for cleaning windows. It can help prevent water spots and avoids any harsh chemicals that some people use to clean their windows.
If you’re washing your car regularly, you may not need to clean the windows separately. Using a squeegee will effectively get most of the water off, and you can finish up with a microfiber towel for any missed spots.
How does it work?
- Getting a quality squeegee can make a big difference. A long handle will make the job easier.
- Lift the windshield wipers.
- Start at the top of the windshield and continue to the bottom.
- Apply enough pressure to effectively pull any water back and down as you move the squeegee towards you.
- Wipe off any excess water on the sides or missed spots.
- INSIDE/OUTSIDE – This technique will work outside of the glass.
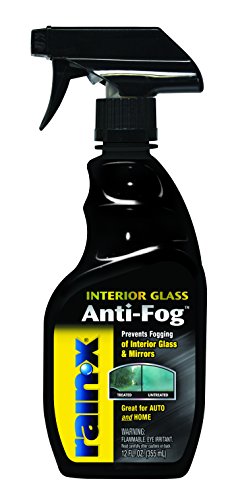
5. Glass Cleaner

Glass cleaners are not all made equal. Make sure you use a glass cleaner that is specifically for cars to avoid rubber or paint damage over time.
Glass cleaners are good at helping remove particles and smudges. Use it as shown in the directions for best results.
How does it work?
- Lift the windshield wipers.
- Spray the glass cleaner in a shady area to avoid streaks, although it may not matter for some.
- Wipe off the spray in an up and down, then right to left motion for best results.
- Apply liberally to help with the removal of the dirt.
- Apply firm pressure since some particles will resist removal without that extra pressure.
Tips for a Great Clean

Make sure you remember to follow a few tips for the best results when cleaning your car windows.
- Wash your car first if you want to.
- Move to the Shade. This will help you get less chance of streaks.
- Use soap and water or paint and rubber-safe window cleaner. Avoid ammonia and acidic sprays such as vinegar or lemon. Ammonia can dry out rubber parts around windows and harm tinted windows. Acidic cleaning mixtures can damage paint and metal parts if left on them without washing them off.
- Use a clay bar for a smooth polished finish without any sticky particles left over. (This Video shows using fine steel wool to polish off particles left over after washing. Some people also say that baking soda and water can work as well.)
- Clean your windshield wipers. Wipers need to be washed and wiped off with a rag that can get dirty since wipers can leave marks once they start to degrade and can be particularly dirty.
- Use a microfiber towel to help absorb water or a window cleaner. A thick or waffle-textured microfiber cloth can usually absorb water well. (If you use window cleaner, use a separate cloth for window cleaning only.)
- Wipe up and down and left to right for a better clean and fewer streaks.
- Don’t forget the inside of your car and roll down the windows a bit to get to the top section.
- To finish up, you can use a wax or ceramic spray.
It can be rewarding to have a beautiful-looking car, and clean windows will help ensure your safety as you drive. Good luck with your efforts to clean your car windows and have a great-looking car.
Here are some products similar to the ones that I have used on my car (except for the glass cleaner – I haven’t tried that yet, but it looks like it works well).
Products for your car windows
| Clay Bar | Thick Microfiber towels | Wax for Windows | squeegee | Glass Cleaner | Ceramic Spray Car Wax |
|---|---|---|---|---|---|
 |  |  |  |  |  |