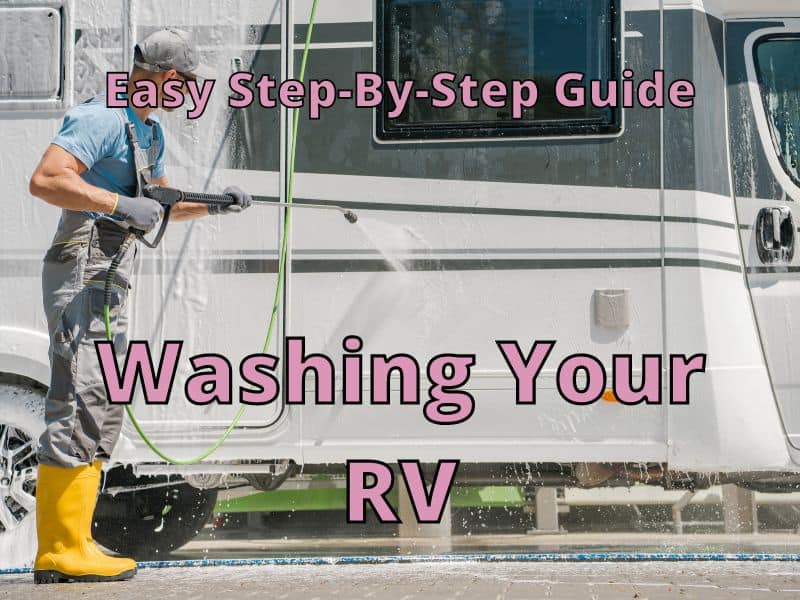
Washing your RV can seem like a daunting task, but with a few steps, it can be done before you know it. I remember washing an RV for a neighbor when I was a teenager. The thing I learned quickly is to take one step at a time.
To wash your RV effectively, wash one section of the RV at a time. Taking the time to wash your RV one step at a time will make the job simple and effective. Start on the top of the RV, then proceed to the sides and the front and back. Finish with the tires and windows if desired. Here are a few steps you should follow:
- Pre-wash
- Choose a Method – Soft Brush, Dry Wax, or Washing Service.
- Start at the Top of the RV
- Wash the Sides
- Wash the Front and Back
- Clean the Tires
- Clean the Windows
If your RV has been sitting a while or hasn’t gotten washed in a long time, your job might be a bit more difficult. I’ll share some tips for getting off the grim, so you can more easily wash your RV within the time limits and in the way you want to.
1. Pre-wash
If your RV has baked on dirt and grime, it’s helpful to use a pre-wash. Normal washing with soap and water will not remove all bugs, tar, and stuck-on particles. A pre-wash (Amazon Link) can loosen up stuck particles and help clean the surface without harming your paint, fiberglass, or metal surface. Just check to see if the one you choose can be used on your type of RV surface.
Use the pre-wash soap or spray and wait the time period indicated, usually 2 minutes. Then wipe off with a microfiber towel or soft scrubbing towel to remove bugs, tar, and grime.
If you have a heavy accumulation of grime, you may need to go over the area once more with the pre-wash or see how things turn out after you wash the RV.
TIP
If you’re not interested in using a pre-wash product, pre-soaking is another alternative you can use to help lift off some of the more stubborn stuck-on particles. Just use water or soapy water (Amazon Link) and spray or quickly apply it over the entire area to be clean.
Let the water sit for a couple of minutes or more before scrubbing with a brush, soap, and water. Working in the shade will help the water penetrate longer to remove grime for an easier job.
2. Choose a Method – Soft Brush, Dry Wax, or Washing Service.

- a) An easy method for cleaning your RV is to use a soft brush with an extension pole, soap, and water. With an extension pole (Amazon Link) for your brush, you can cover large areas in a short amount of time.
b) If your RV is dirty but not full of grime, choosing dry wax can save you time and water. Just spray (Amazon Link) on or apply the wax (Amazon Link) to the surface of the RV and wipe it. It’s easy and convenient when you don’t want to deal with all the steps involved when using water. (1. Mixing soap and water 2. Rinse down RV 3. Wash and scrub RV 4. Rinse off soap 5. Wiping down RV with a dry towel.) Be aware that a dry wax will only clean light dirt but will leave your RV with a nice shine for a couple of weeks.
c) Washing services are available for a cost at some RV parks. They can wash all the areas of your RV, including the top, sides, wheels, etc. This might be a good option for you if you have the money. Expect to pay $200+ depending on the size of your RV.
Which is Best for You?
All three methods have their benefits. To help you decide, think about how much time and money you are willing to spend on your RV, and you’ll likely know which is the best option for you. Here are some things to things to think about before choosing.
- Soft Brush – Water and soap can be cost-effective when using water efficiently.
- Dry Wax– A spray-on wax takes only one step and uses a microfiber cloth and spay, so no extra equipment is needed.
- Washing Services – Helpful when you need some extra help or just convenience.
Make sure you have everything you need before you start, and set aside enough time. Some people like to tackle one section at a time to avoid frustration and do a thorough job of cleaning. How much will you do?
| Top | Sides | Front & back | wheels | Windows |
|---|---|---|---|---|
20% | 40% | 60% | 80% | 100% |
3. Get Started – Start at the Top

A lot of people like to start by cleaning the top of the RV. This is a good idea if you are planning to use soap and water. The dirt, soap, and water will need to drip down, so cleaning the top first means you won’t need to clean the sides twice.
Start by making sure you have the correct cleaner for your RV.
RV Type | Product to use | Products on Amazon |
|---|---|---|
Painted – Metal or Fiberglass | Wash the RV with soap and water or use dry wax. | Wash/Wax (Amazon Link) Dry Wax (Amazon Link) |
Fiberglass | Wash the fiberglass-safe soap and water or use dry wax. | Wash/Wax (Amazon Link) Dry Wax (Amazon Link) |
Rubber Roof | For Rubber Roof RVs, find a good rubber cleaner and conditioner. Choose one for your specific rubber top. EPDM or TPO | EPDM Roof (Amazon Link) TPO Roof (Amazon Link) |
Metal | Most mild cleaners will work. If you want to remove oxidation, get an aluminum car wash. | Wash/Wax (Amazon Link) Dry Wax (Amazon Link) Aluminum (Amazon Link) |
Using a backpack to carry items would be helpful when climbing on the roof. Use extreme caution if cleaning on the roof and using a ladder. Secure ladders well to the ground, and using a 75-degree angle is usually the safest. Check any ladder that is bolted to the back of the RV is fastened securely.
TIP
Rinsing with a power washer is not advised. If you do decide to use one, use it from the ground level. Power washers can cause water to enter the rivets, seams, and hatches. RV design decals can peel off with power washers. A garden water hose with a nozzle will usually work fine in most circumstances.
If you do have a power washer, a safe way to use it on your RV is for applying soap. Attach a soap dispenser (Amazon Link) and foam down the area to be washed. This will help keep the area moist and lubricated for effective cleaning.

You may need a ladder and a helper to hold the ladder. Some RVs have a ladder added to gain access to the top of the RV. Not all RVs have a top that can be walked on. Check your owner’s manual.
Make sure to check labels well to ensure your RV surface can be cleaned with the product you’re looking for. Also, use car wash soap because some dish soaps can harm the clear coat of painted surfaces.
After you’ve finished cleaning the top of your RV, check that you have all your materials, place them in your backpack and carefully climb down the ladder using both hands.
4. Sides

A soft brush on a pole can come in very handy when washing the sides of your RV. If using a dry wax, a step ladder (Amazon Link) or collapsing ladder (Amazon Link) will be needed for hard-to-reach areas.
Be cautious of areas that shouldn’t be sprayed directly with force. Check to see if everything is closed tight. Sliding windows, Vents, and seals for slide-outs should be carefully sprayed around lightly. Check to see if your slideouts and awnings need to be cleaned.
To clean the awning, try not to scrub or power wash. Soap and water can be applied and sprayed off gently. Some awning arms can detach, allowing the fabric to lay flat against the RV. This will help you clean it more effectively.
TIP
After cleaning the sides, check your rubber seals and decide if you want to use a rubber conditioner (Amazon Link) to make sure they are in good working order.
5. Front and back

Cleaning the front and back should be similar to cleaning the sides. Check to see if the windows and other compartments are fully closed. Wash or clean in your RV until you are satisfied.
Check to see if you need to remove any items stored in the back. Washing or cleaning may be more difficult around tight areas, and water or spray may get into areas you may want to avoid.
TIP
This is a good time to inspect how secure things are tied down. Check cargo on the back of the RV, hatches, vents, ladders, doors, and other ground-level items.
6. Tires

Washing one’s tire rims can get a bit dirty. If using a dry wax, it helps to wear gloves and have a stool to sit on when cleaning. When cleaning with soap and water, it is helpful to have a tire brush (Amazon Link). The grim will rinse off a brush but stick to a rag, although rags clean better in my experience.
Tires can get dry and cracked if RV owner doesn’t use their RV often. A good practice is to use tire covers, tire conditioner spray (Amazon Link), or regularly use your RV.
TIP
Check to see if your rims are securely fastened and tire lug nuts look fastened well, and do a visual inspection of the tire tread depth. Lots of problems can be solved when checking for problems before they happen.
7. Windows

The nice thing about some wax sprays is they can be used on windows as well. Some people just skip this step since windows wipe or dry fairly clean most of the time.
If you are serious about making sure your windows are clean and spot-free, invest in a good window cleaner (Amazon Link).
It’s helpful to wipe down the windshield wipers and ensure they are cleaned well. Checking for small cracks in the windshield can help prevent the costly replacement of the entire windshield. Some cracks and chips and be patched before the crack spreads.
TIP
Check the area where the hood meets the front window and clear any debris so the window cleaner can spray from the nozzles effectively. Check the windshield wipers and see if they need to be replaced.
Shopping Tips

Addition Questions
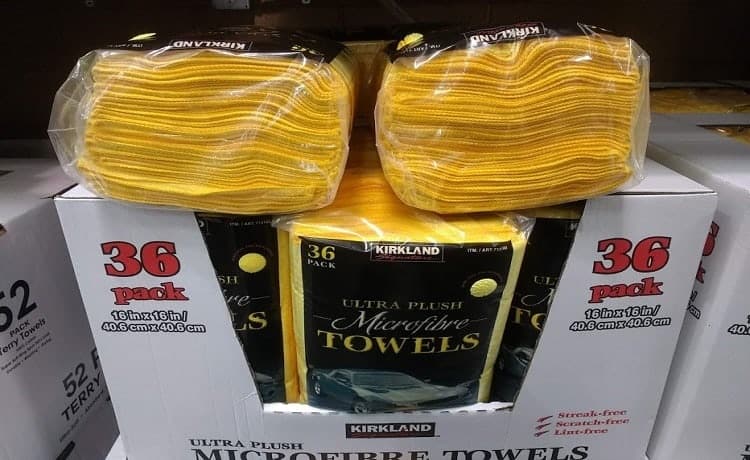
Should I use a microfiber towel to clean my vehicle?
Yes. A microfiber towel can clean surfaces on your vehicle effectively. It can be thick for soaking up water or thin for finer detail work. They are inexpensive and made of polyester, polyamides, and polypropylene. It is usually safe for vehicles, but get ones designed for them to be safe.
What’s another way to remove bugs from my vehicle?
You can try a dryer sheet for bug removal. Wet the dryer sheet and rub the affected area. The bugs should start to loosen. Additionally, you can use a spray bottle with half a cup of water and shake well. When your finished, clean the area with soap and water.