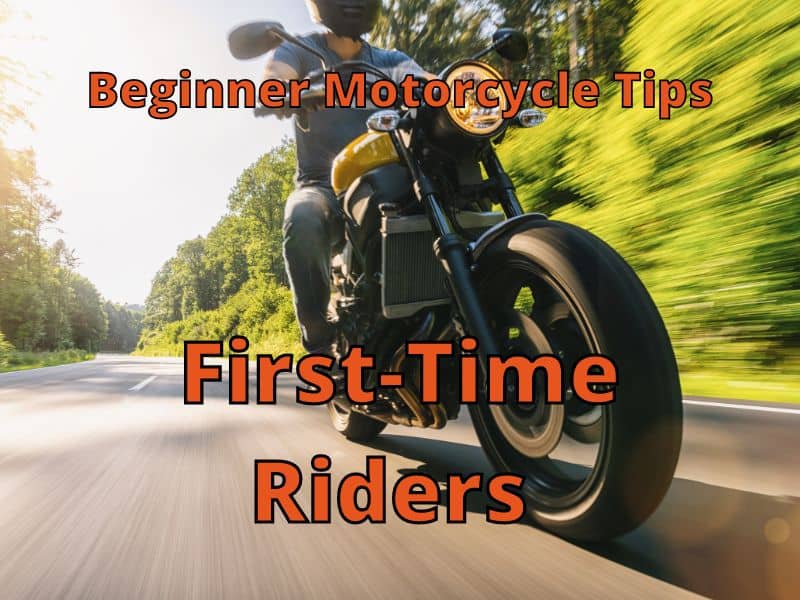
It is very practical to own a motorcycle nowadays because it allows its riders to move around the city easily and quickly, even with some traffic. Compared to cars, motorcycles are easier and less expensive to maintain. However, you should know that motorcycles require special attention for you to be able to keep them in their reliable and best running condition.
You do not have to be a mechanic to do basic motorcycle maintenance. All you need are the right tools, as well as some time on your day off. Here are a few things you need to do:
- Check the fluid and change the oil when needed.
- Check the battery and replace it when it is discharged.
- Check the belt tension and lubricate the chains.
- Keep your tires inflated correctly and replace them when needed.
- Clean the air filter every 10,000 kilometers.
- Oiling and adjusting the cables.
- Inspect the headlight’s bulbs and the brake and signal lights
- Check the brake fluid reservoirs regularly.
- Keep a check on the nuts and bolts.
Doing regular maintenance on your motorcycle will keep it running smoothly, and you may maintain its value in case you are planning to sell it in the future.
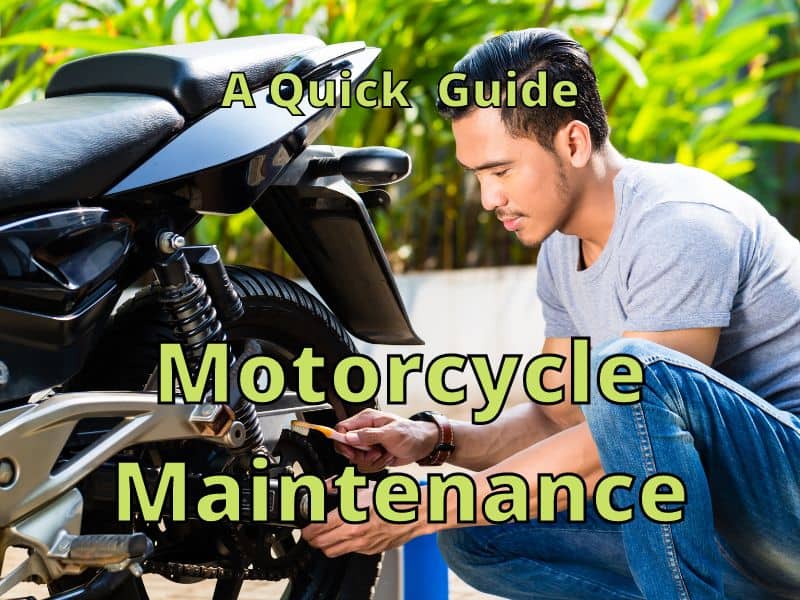
Motorcycle Maintenance
Fluid
One of the most important things to keep in mind if you want to keep your motorcycle healthy is to check the fluid and change the oil once the need arises. Depending on the model, we advise that you change the oil every 10,000 kilometers. An oil change is normally done during the annual check-up of your motorcycle. However, if your motorcycle is new, you need to check the manual first.
More oil is consumed when it’s hot out, especially during the summer. With this, you need to regularly change the filter. Before changing the oil, you need to take into consideration the type of oil that you use, as well as the age of your motorcycle. Now, modern motorcycle engines are more efficient in terms of oil use, so they last a little longer without requiring you to change the oil.
Before you hit the road, you might want to check the oil level first, especially when the temperature is low. If you see that the oil level is low or it is not at its maximum level, you need to top it up first. We all know that low levels of oil can be a bit disastrous, while too much of it may eventually flood up your motorcycle engine’s air cleaner with oil.
Battery
Motorcycle batteries are commonly situated beneath the seat or the petrol tank, which makes it barely surprising that maintaining them is often overlooked. Once your bike’s battery becomes discharged, it normally means that you need to replace it. This is the very reason why routine checks are necessary to prevent that from happening.
To check the battery, you need to remove it first from its holder, as it contains strong acid that can be very harmful when it comes in contact with the skin. By positioning the battery on a level surface, check the acid level, and if it’s low, then you need to top it up with deionized water with a motorcycle charger before putting the battery back on charge.
Chains and Belts

Every time you fill up for gas, remember to have the chains lubricated using a chain spray. You only need to spray on both sides of the chain that touches the sprockets. Remember to place a piece of old newspaper to catch drips, as well as to prevent spraying on the rear wheel rim. Then, wait around 5 to 10 minutes before you wipe off excess oil.
Belts do not necessarily require a lot of maintenance, as you only need to check the belt tension every time you change your motorcycle’s oil. If you find that the belt tension is wrongly positioned, you just need to adjust it. In addition, you should keep the belt clean all the time.
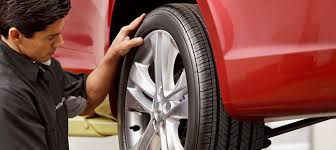
Tires
The only thing that you need to keep in mind is that you keep your tires inflated correctly. As you may already know, an under-inflated tire has the tendency to generate heat, which can cause it to blow out. To add, tires that run on too much heat wear out a lot quicker, and it is the most common cause of motorcycle breakdown.
You might want to keep a tire gauge in your toolbox and use it regularly until the time comes that you know what a correctly inflated tire feels like. If the need arises, replace your tires at the soonest. In fact, canyon racers and sports bikers never cut corners when it comes to their tires, as they are all that stands between them and the finish line.
Filters
Another way to keep your motorcycle in its pristine condition is to clean the air filter every 10,000 kilometers or so. Air filters prevent dirt from entering the motorcycle’s engine. Weekly maintenance is highly advisable, especially if you drive through the streets with lots of dirt and dust. However, if you live in an area with less congested air, less maintenance is required.
Cables
Maintaining your motorcycle also entails oil and adjusting the cables that make your riding experience more responsive and smoother. The grease on the cable’s housing will degrade over time, which will leave an impaired throttle or clutch action. When you are in the process of oiling the cables, make sure to adjust them accordingly to get rid of any unwanted slack.
Lights and Turn Signals
You need to inspect the headlight’s bulbs, as well as the brake and signal lights. See if the brake lights activate once you grip the right handlebar level or the right foot pedal. The alignment of the headlight should also be checked, just for you to know that you will not be blinding oncoming vehicles. Lastly, check if the wiring is secured tightly.
Brakes

Both brake fluid reservoirs should also be checked regularly. Topping up of brake fluid should be only from a sealed bottle, as this fluid has the tendency to absorb moisture over time. In addition, check the thickness of the brake pads to see if it needs replacement. One thing to remember is that the brake fluid eats through the metal if you spill it on the paintwork.
Nuts and Bolts
As you may already know, the nuts and bolts are what keep your motorcycle held together. With this, regular maintenance and checking if the nuts and bolts are securely tightened are necessary to keep your motorcycle in its best riding condition. To add, check the torque specifications when you are trying to reinstall the bolts and nuts to correct and proper tightness.
Wheel Spokes
When maintaining your motorcycle, how do you know if a wheel spoke is loose? You just need to grab the pair of spokes and give them a little squeeze. However, you can also put the motorcycle on a stand, then spin the wheels, and lightly tap each spoke using a wrench. A loose spoke would sound like a dull “thud,” while a properly-tensioned one makes a “ting” sound.
Conclusion
Maintaining your motorcycle is very easy, even if you are just a beginner. You only need the right tools and some time to be able to do the above checklist successfully. Keep in mind that you can save a lot of money on maintenance costs, as this is something that you can totally do on your own. Paying for a mechanic or a repairman to check your motorcycle would be unnecessary.