Engine maintenance is one of the most important things that any car owner needs to learn. A lot of these tasks may seem complicated at first, but if you do your research, you will know that it is pretty much a straightforward task. In some cases, you will need the help of the pros. In other instances, you will be able to have it completed even on your own.
There are many things that you have to learn when it comes to maintaining your diesel engine. You need to be aware of the right steps to avoid ruining the stretch bolts once they are removed from their original position. Here are a few steps you need to follow to remove flywheel stretch bolts without damage.
- Have a Look at Flywheel and Stretch Bolts
- Use The Right Socket
- Do Not Use an Impact Wrench
- Grind the Stretch Bolts
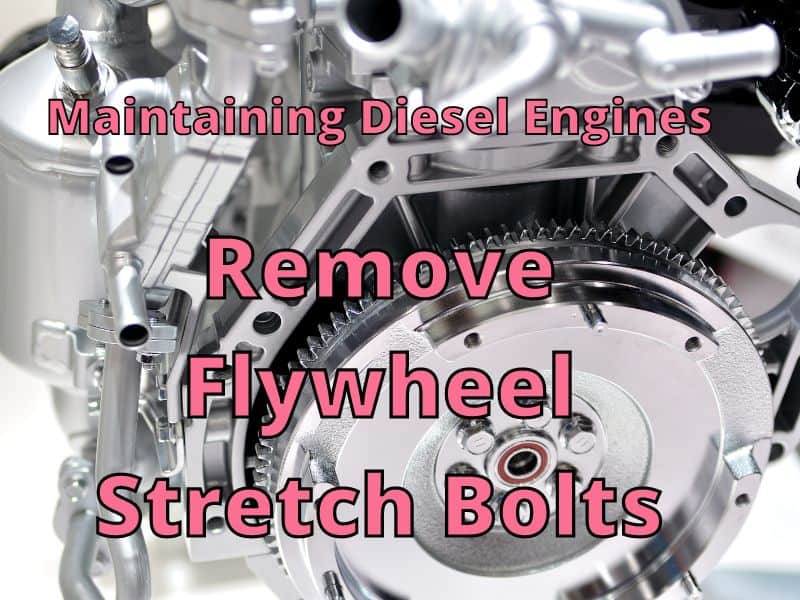
A Look at Flywheel and Stretch Bolts
Before we proceed with the main discussion, allow me to give you a primer on the purpose of the flywheel. In a nutshell, this is the large and heavy metal disc that is attached to the crankshaft and the clutch. It makes the engine rotation smooth. To add, it also holds momentum for changing gears. It makes sure of the smooth movement of the different components of the engine.
If you want to remove the flywheel from a diesel engine, especially in the case of older Mercedes car models, there is a special bolt, which is known as the stretch bolt. One thing that makes them different is that they become elongated once they are fixed. They provide tension like springs.
One of its defining characteristics is that it comes with a shallow head, so there is not much of a socket. This is going to make the removal process a bit challenging. With a little surface area that is exposed from the top of the bolts, you might be wondering how it can be removed without damage. This is exactly the focus of the discussions in the rest of this post.
Stretch bolts are non-reusable. As noted, they become stretched upon installation, which is why they can no longer be reused after they are removed. Nonetheless, you should still be careful in removing them. When the heads are stripped or damaged, it becomes more difficult to take them out, which is why you need to be cautious when completing this task.
Before we proceed, watch the short video below, which will provide you with an easy-to-understand visual guide on the proper way of removing flywheel stretch bolts without damaging them:
Use The Right Socket
Removing flywheel stretch bolts without damage can be possible if you opt to choose the right socket. Normal sockets will not be enough because they won’t fit the heads of the bolt. The result is that you will not be able to turn it around. It will not be loosened, which is sure to be a frustrating situation for anyone.
Sockets have a bevel. When using a normal socket, when it is placed on the stretch bolt, you will be able to cover only 1/16 of an inch of the head. This means that you will not be able to remove the stretch bolt regardless of the force that is applied.
Instead, as shown in the video above, you should choose the right socket. That being said, we will use a 12-millimeter socket. It should be a 12-point socket with half an inch drive. This is not enough. You have to perform a quick modification. Grind at least 1/16 of an inch. This way, the edge will be sharp and will be secured when it is inserted into the stretch bolt.
Do Not Use an Impact Wrench
When it comes to power tools, an impact wrench is one that is most common. This socket wrench tool has the purpose of applying high torque output while requiring minimal effort from the user. It is traditionally used in bolts, but for stretch bolts, this is not one thing that you should use. The impact wrench hammers the heads of the stretch bolts, hence causing significant damage.
As an alternative to an impact wrench, you should use a breaker bar instead. Place the modified socket on the end of the breaker bar. You will also need a tapered long punch, which you should insert into the lower hole. This will prevent the flywheel from turning as you turn the stretch bolts.
Now, you are ready to remove the bolts. Rotate the stretch bolts counterclockwise. Push the head of the breaker bar and apply enough force as you turn. You can also ask someone to hold the engine while you complete this task. Go around until you are done loosening all the bolts on the washer ring. Once they are loose, use an electric ratchet or air tool to remove them completely.
Grind the Stretch Bolts

In some cases, it is inevitable that the stretch bolt becomes damaged. In this case, you will have no choice but to grind the head. Otherwise, you will not be able to remove it, even with the use of your modified socket. When grinding, you also have to be as careful as possible so that you will not damage the washer.
Grinding, however, should be your last resort. This is a complicated task, especially because you have to focus only on the head and prevent being in contact with the washer ring.
Conclusion
Now that you are done reading this post, I hope that you were able to gain valuable insights on the right way of removing flywheel stretch bolts without damage. You need to be extra careful. Once they are damaged, it will be harder to take them out unless you resort to grinding, which can be more challenging.
As noted above, the best way to remove the stretch bolts without suffering from damage is to use a modified socket and to use a breaker bar in place of an impact wrench.