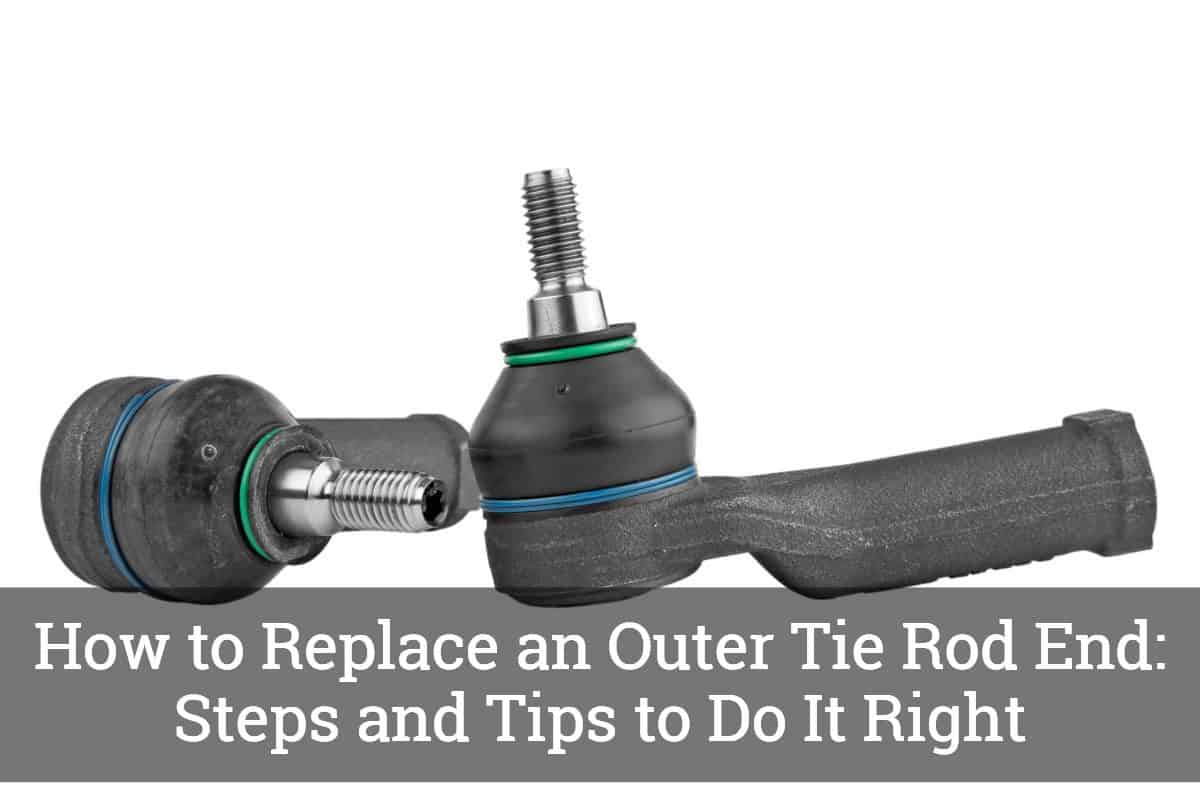
The tie rod ends are critical components of the steering mechanism of your vehicle. It serves as the connection between the wheels and the steering rack, with one on each side. It has two main parts – the inner and the outer end. Through time, they can be subjected to wear and tear, which can lessen functionality and compromise performance.
In the rest of this post, I will teach you how to replace an outer tie rod end. If you have the basic tools and a little knowledge, the job will be fairly easy, even if you are a beginner. You can always go to a mechanic within the neighborhood, but it can be costly. Why would you even bother if you can do it on your own? Read on and learn how to successfully accomplish this task.
What You Will Need to Follow this Tutorial
Before anything else, here are the materials that you have to gather:
- Breaker bar
- Hammer/mallet
- Needle nose pliers
- Wrench
- Torque wrench
- Ratchet
- Socket
- New outer tie rod
Step-by-Step Guide on How to Replace an Outer Tie Rod End
Now that you are ready to get started, here are the steps that you have to follow:

Via: https://www.youtube.com/watch?v=6zcoK9etIOE
1. Park the Car on an Even Surface
For your safety, make sure that the car is parked on an even and open surface. This will provide you with the freedom to move and to work easily. If you have a car ramp in the garage, consider yourself lucky as you will be able to work easily. Otherwise, use a floor jack so that you will be able to lift the front end of the car.
2. Remove the Wheel
Now that your car is in a safe and stable position, you can start to take out the wheels. Take out the lug nuts and, at this point, the wheel. By now, you will be able to access the steering system of your car. To make it easier to do the repair, turn the steering wheel to the left so that you can push the tie rod outside.
3. Remove the Tie Rod End
With the use of a wrench, loosen the pinch nut. This is the one that holds the outer tie rod end in place and is responsible for preventing it from moving to a position where it should not be. Once it is loosened, it will be easier to have it twisted.
4. Take out the Cotter Pin
The next part that you have to remove is the cotter pin. You can find this on the part where the steering knuckle meets the rod. Use a needle nose pliers to straighten the cotter pin and pull it out. After pulling the cotter pin, use a socket and a wrench to completely pull off the castle nut. This is necessary so that you can completely remove the outer tie rod end.
5. Remove the Outer Tie Rod End
There is a special tool to make this easier, but most of you won’t have it at home. As an alternative, screw the castle nut on the bottom. Use a hammer or a mallet to push the rod out. Take off the castle nut and pull the rod.
6. Replace the Outer Tie Rod End
Now that you have it completely removed, the next step is to have it replaced. First, have an inspection of the replacement to be sure that it is similar to the old one. Their length should also be the same so that the alignment will be straight.
Put the tie rod on the end. Keep turning until it is completely secured in its position. Put the tie rod in the knuckle. Replace the castle nut simply by having it hand-tightened. See to it that the cotter pin hole is aligned and have it secured. Tighten the nut toward the tie rod end, which will make it secured in its place.
7.Put the Tires Back
Make sure that everything is in place. The connections should be secured for your safety. After checking, return the tires, and just like that, you are done with the job!
Watch the short video below to learn more about the steps mentioned above:
Pro Tips
It is not enough that you follow the steps that have been mentioned above. For the best outcomes of this DIY repair job, here are some of the most important tips you must keep in mind:
- Tie rod ends do not come with a universal design. This means that if it fits in one car, it does not mean that it will fit in yours. Before you buy a replacement, check the old one and make sure it is compatible for your needs.
- Pay attention to the signs that you have to replace the outer tie rod end. Most of the signs will be physical in nature, which will provide you with the warning that it has already worn out.
- Apply oil or WD40 on the nuts and the other parts of the tie rod end. This will provide the lubrication to minimize friction, which will make your task a lot easier.
- In the case of some models, there is a grease fitting on the tie rod end. Apply grease until you can see it on the opening. Be sure to wipe off any remaining grease on the surface, as it can have a negative impact on the brakes and rotors, among other components of the steering mechanism.
- Replacing the outer tie rod end is not the only thing that you should be concerned about. A front-end alignment will also be necessary. This time, it needs to be handled by a professional as it is a complicated task. This is necessary to prevent uneven wear.
- Before you start with the replacement, consult the repair manual from the manufacturer of the vehicle. This will let you know the proper torque values, which will help in making sure that your vehicle will stay safe. The wrong torque will mean that some parts will end up being loose.
Conclusion
From the things that have been mentioned above about how to replace an outer tie rod end, it is apparent that it is an easy task if you have the right tools and knowledge of the right steps. However, be sure to observe caution, as if it is done wrong, the performance of your steering system can be possibly compromised.
Have you tried replacing outer tie rod ends before? Are there other tips that you would like to share? Do not hesitate to write in the comment section below.