As you use your vehicle every day, it is subjected to stress, which causes wear and tears to its components. While there are many parts that can be damaged over time, one worth noting is the oil cooler line. When it fails, it won’t be able to regulate oil temperature. This can cause the oil to break down and will negatively impact the way your vehicle performs.
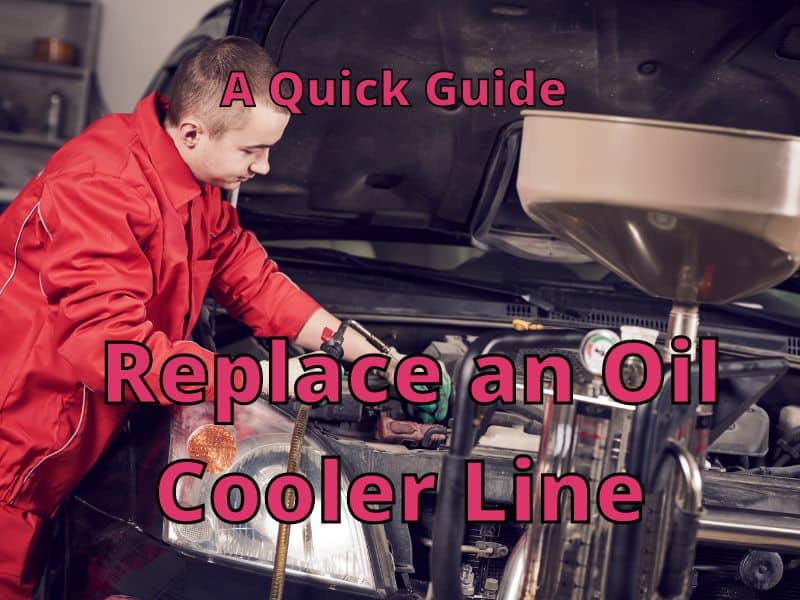
An oil cooler line connects the oil filter to the radiator. It can be prone to various external problems, such as dents and corrosion. At one point, you need to have it changed to keep it working at its best. Here are a few steps you should follow to replace an oil cooler line:
- Jack up your Vehicle
- Remove the Oil Cooler Line
- Drain Excess Oil
- Compare the Oil Cooler Line
- Check the Seals
- Install the New Oil Cooler Line
That being said, if you want to learn these steps in detail, keep on reading the rest of this post and learn from the insights that I will be sharing.
Things You Need to Follow this Tutorial
Before you start, prepare the materials that will be needed for the task. The good news is that these materials are pretty much basic and available in your toolbox, except for the replacement oil cooler line, which you will remove.
- New oil cooler line
- Jack stand
- Wheel chock
- Ratchet/wrench
- Oil pan
Step-by-Step Guide on How to Replace an Oil Cooler Line
Once you have gathered the materials that are needed, follow the steps that will be mentioned below. As you will realize, the instructions are pretty much basic and easy for everyone to follow. Before you keep on reading, watch the short video below for a visual guide to what needs to be done:
1. Jack up your Vehicle
The first thing that you have to do is to park the car on an even surface and jack it up. You need to access the hood when removing and replacing the oil cooler line. Make sure to find a place where the surface is stable, which is important for your safety. It should also have the lighting that you need to be able to work properly.
If you want to be safer, it will be best to also use wheel chocks. This will lock the wheel and prevent it from rolling while you are working underneath.
2. Remove the Oil Cooler Line
Once the vehicle is already in a set position, you should locate the oil cooler lines in the hood. After it is located, start having it removed. Take it out from the point where it is connected to the engine. Use a ratchet or a wrench to remove the bolts that serve as the connector of the oil cooler line. Loosen and unplug.
After removing it from under the car, remove the one from the top. Loosen the bolts that connect the line. Wiggle and pull it out slowly.
3. Drain Excess Oil
After you have removed the oil cooler line, the next thing that you have to do is to remove any excess oil. It will drip from underneath, so do not forget to place an oil pan to catch the drippings. You might end up with a mess if you do not have a pan to catch the excess oil.
4. Compare the Oil Cooler Line
Before placing the new oil cooler line, have it compared with the old one? Make sure that they have the same shape and length. It is important to have the same design so that you can mount it in its original position. It must also have the required bends to have the clearance that is necessary to complete its assembly.
5. Check the Seals
Seals are important because they will prevent leaking and make sure that the lines are tight and secured. The seals can exist in different forms, such as gaskets and O-rings, among others. If they are not included in the replacement oil cooler lines, you will have to purchase them separately.
6. Install the New Oil Cooler Line
At this point, you should be ready for the installation of the replacement oil cooler line. First, install the new line on the side of the oil cooler. Once you are done, install it on the engine side. See to it that the nuts or bolts will be tight. Otherwise, you might end up suffering from leaks. Reinstall all of the mounting brackets.
Pro Tips

In this section, we will provide you with some insightful tips on anything that is related to the oil cooler line. One thing that most of you would be concerned about is when to have it replaced. After all, no one would want to spend money replacing something that is not problematic in the first place.
- If your oil level is lower than normal, it can be indicative of a number of things, one of which is a failing oil cooler line. There is possibly a leak or crack, which is the reason why the oil drains more quickly.
- You may also want to perform a quick inspection of the oil cooler line. Look for signs of wear and tear, including crimps and bends. If there are visible surface damages, take this as a sign that you have to replace the oil cooler lines.
- If you notice that there is a puddle of oil underneath the car from where it is parked, this also goes to show that the oil cooler line can be problematic, which is why oil is dripping.
Meanwhile, when you are looking for a new cooler line that will be used as a replacement for the old one, here are some of the things to keep in mind:
- As noted earlier, one of the most important is to make sure that they are the same shape, design, and length to have the perfect fit. Take a look at the OEM specifications to be sure that you will end up with the right aftermarket part.
- Evaluate the materials that are used. See to it that it is made of high-quality materials that are free from rust and corrosion, among other external damages.
- The connectors and the seals are equally important as the line or the hose itself. They must be tight enough to prevent leaking and to provide a secured connection.
Conclusion
After reading this short guide, I hope that you already know how to replace the oil cooler line. A lot of you might think that this is a task that is reserved for the pros. The truth is, you do not have to be a licensed mechanic to complete the task successfully. Just follow the steps that have been mentioned above, and you do not have to spend a lot to get the job done!