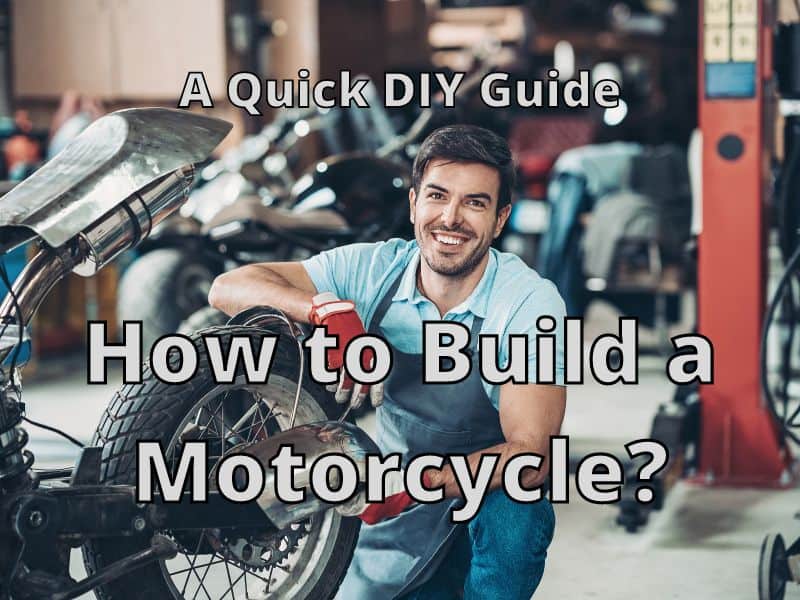
Ever dreamt of having a custom motorbike? Sadly, for most people, it remains nothing but a dream! Fortunately, there is a way to make it more affordable, although it still requires the need to spend money. You can do so by making the customization a DIY job!
With the time and patience to spare, you can successfully build your own motorcycle. You just have to gather the materials needed and follow the steps:
- Pick a Project Bike
- Create a Concept
- Tear Down the Bike
- Replace the Parts
- Start with the Customization
- Change the Exhaust
- Test the Bike
In the rest of this post, we will give you a quick look at how to build your own motorcycle. With the time and patience to spare, this is a project that you can successfully complete on your own. You just have to gather the materials needed and do things right! No need to rush! Every big and successful project takes time.
How to Build Your Own Motorcycle?
1. Pick a Project Bike
The first and perhaps most important thing that you have to do is to pick a bike that you will customize to each your own. Consider your personal preferences when choosing which to personalize. The bike should be easy to work on with easily available parts.
It would be best to choose an older bike model. Not only that it is cheaper, but the system is also less complicated, and you can easily find the parts that you will need. The bike should also be as affordable as possible.
When choosing a bike to customize, it is also important to make sure that it is still running. This will help you make the most out of your budget while ensuring it is still roadworthy. If it no longer runs, this means that you still have to change the engine and other motor parts, which is costly.
2. Create a Concept
Now that you have chosen the bike to personalize, you should come up with a concept. Ask yourself – what do I want this motorcycle to look like? What have you always dreamt of? It is best to begin this process online and look at the photos that can inspire your modification project. If you have creative skills, you can create your own sketch of how you want the project to turn out.
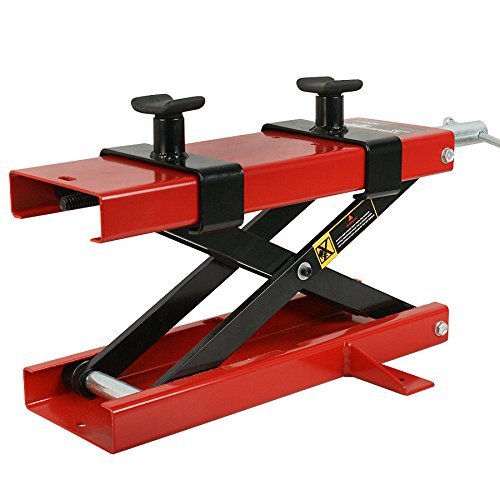
3. Tear Down the Bike
After coming up with a concept, it is now time to get your hands dirty. However, take note that you do not need to disassemble all the parts. You have to know which ones you will replace, as these are the only ones that you will take down. During this process, do not forget to take down notes to have a running list of those that will need a replacement. Inspect each component and see if it can still be salvaged. Use commercial cleaners, oil, or grease if they can still be brought back to life.
4. Replace the Parts
After taking down the worn parts, you need to have them replaced. Those parts that are already damaged and unreliable should be dispatched so as not to compromise your safety. The wiring harness, roller bearings, rubber parts, and filters are just some of the most important parts that you might have to replace from the old bike.
5. Start with the Customization
This is where the fun starts. It is also usually the most complicated part of the process, especially for novices. You need to proceed slowly, dealing with one component at a time. It will make the project more affordable and a lot easier.
First, start with the small upgrades. For instance, you can change the tires, seats, handlebars, footpegs, and mirrors.
Once you are done with the minor upgrades, you can now have the bike painted, chromed, and powder-coated. New paint is sure to significantly impact the upgraded look of your custom bike. Even the small parts can be painted to suit the desires of the owner. Generally speaking, below are the simple steps that you have to follow when painting your motorcycle:
- Look for an area that is large enough for you to move around easily. A garage is a good place to do the job.
- Use plastic sheets to cover the wall and the floor, making sure that paint will not damage the area.
- Put an oscillating fan in one corner. Proper ventilation is necessary so you won’t have to inhale the fumes from the paint.
- Set up the bike in the middle of the room. Remove all the parts you do not wish to paint or cover with tape.
- Clean and sand the specific parts that you wish to paint. Sanding is an important procedure because it ensures that the paint will cling to the surface.
- Wipe down the surface after sanding. Apply a thin layer of filler. Re-sand once it is dry.
- Apply an epoxy primer before painting. It will protect it from moisture.
- Start painting. It would be best to use a spray gun. Often, it has nozzles that can be adjusted depending on the amount of paint that it generates. Apply at least three layers of paint.
- Once you are done painting, apply a clear lacquer to protect the paint from external damages that could speed up wear.
Depending on the condition of the bike, this part also entails the need to replace or upgrade the engine. This can be the most expensive part of the project, depending on the engine that you would like to use.
Change the Exhaust

Your project bike already has an existing exhaust system. In the case of most custom projects, however, this is one of the parts often replaced to give the motorcycle a new personality. Upgrading the exhaust is important to ensure its performance, especially in terms of routing the combustion gases away and muffling noise. It improves the performance of the bike’s engine.
Custom exhaust can be made of different materials. Pick one that will suit the overall look of the bike you envision. Titanium and carbon fiber are two of the most popular choices known for being lightweight. Chromed steel, on the other hand, is great for its aesthetic appeal.
Test the Bike
Now that you are done, and the bike has been fully reassembled, it is time to take it out for a spin. Do not be surprised if you will be turning heads once you hit the road! If anything does not feel or look right, have it amended as desired.
If you want to build your own motorcycle, take note of the things that have been mentioned above. It is not an easy project, but it is doable, even if you are a beginner. This will allow you to be creative in coming up with the bike you have always wanted!