A trailer and other types of recreational vehicles can help us when we need time to relax on a cross-country trip, when moving, or if it’s part of our job. Whatever the situation might be, it critical to maintain your trailer and make sure it is safe.
New trailer brakes need to be adjusted after a break-in period (about 5,000 miles – see owner’s manual), so they will have the correct tightness. Newly installed brakes should be adjusted right away. Using a screwdriver and a jack, you can adjust them, so the brake pads are just about touching the brake drums.
Depending on the brakes (some say they are self-adjusting), they will need to be adjusted about every 3000 miles after the first adjustment. Newly installed brakes should be adjusted 200 miles after the first adjustment and then about every 3000 miles. Check with the brake manual for specific adjustment miles.
Maintaining trailer brakes may take some effort and can be different when compared to a standard car because it may need more effort. But when it comes time to pull your trailer, you’ll be glad you have adjusted your trailer brakes in the correct manner.
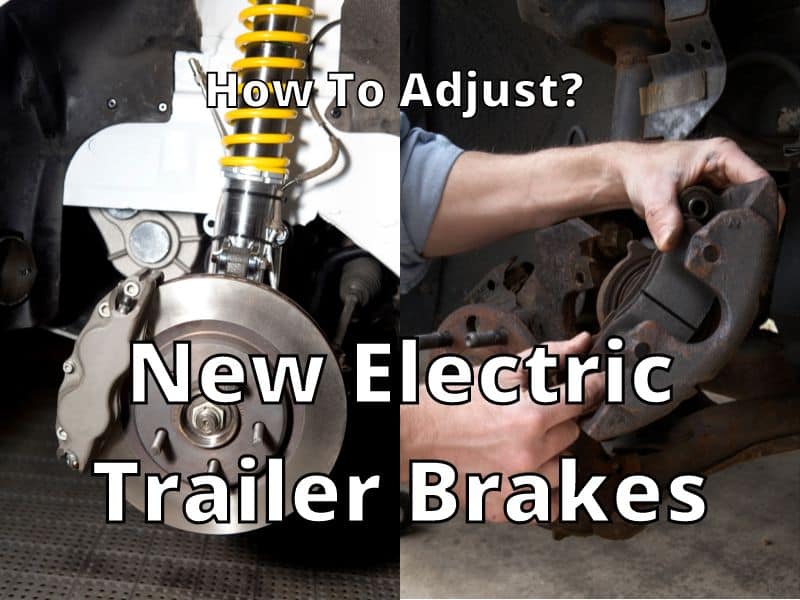
What is an Electric Brake, and why do you need Them?

When a large vehicle such as a utility trailer, camper, or travel trailer is being towed, it will need a supplementary brake system because the brakes on the vehicle towing are not enough to stop both vehicles at once. There are two types of brakes available, which are the forward self-adjusting brakes and the manual brakes.
The forward brakes will adjust themselves once the brakes are applied in the trailer, whereas the manual brakes have to be adjusted by using a star adjuster. Using self-adjusting brakes is recommended since they don’t need to be adjusted again and again once you set them, and they should not need further adjustments.
You won’t need to go to the mechanic to get this job done because most people can do it themselves in the comfort of their driveway. If you do decide to adjust the brakes yourself, you will be saving money and a trip to the mechanic.
What Equipment is Required to Adjust New Electric Brakes?
Here is the list of auto part components or tools which you will need while adjusting new electric brakes.

- A standard jack: the brakes are located on the bottom of the trailer, so you need to get a jack to lift up the trailer. Jacks come with the trailer, or you can purchase them from any tools store.
- Brake adjustment tool: This tool is required to turn the adjuster assembly/screw. You need to tighten the adjuster with this tool or a screwdriver. You can get this tool easily in any hardware or tool store or click the link. It is thin and should be easy to store, so you can use it again when needed.
- Screwdriver: If you don’t have a brake adjustment tool, a screwdriver will work. (See Video) This will allow you to pop off the brake adjuster plugs so you can gain access to the adjuster, and then you can tighten the adjuster if needed.
- Make sure your screwdriver is wide enough, so it has enough leverage. You’ll likely have this tool in your garage or house, and if you don’t, you can get the screwdriver set at any hardware store. If you buy a whole set of screwdrivers, they will have applications for many takes around the house and during your travels.
- Safety gloves: Whenever working with any vehicle, always use your safety gloves to avoid injury and keep your hands clean. It will also prevent you from coming in direct contact with any parts of the vehicle that can scratch you.
Step-by-Step Method of Adjusting New Electric Brakes
- The first step would be to ensure that the tow vehicle handbrake is applied so that there is no movement with the trailer. With the handbrake applied can then place a block or wheel stopper on the opposite side you’ll be working on.
- If the trailer is by itself, ensure it can’t move with a wheel stopper or other securing measures and by placing it on level ground.
- After that, you’ll need to lift up your trailer using a standard jack and ensure that the jack can handle the weight and that the jack is placed correctly. Make sure that the wheels on the trailer are able to rotate freely. If you have any problems with turning the wheel after it’s been jacked up, read the trailer’s service manual and see if it has any recommendations.
- Now remove the adjusting hole plug, which is located at the bottom of the brake unit and faces inside and under the trailer. You may need to remove two adjuster plugs to find the screw that needs to be turned. A flashlight can come in handy but is not necessary unless it is dark.
- See the video for an inside look at an electronic trailer brake.
- Look in the hole and place the adjuster tool or screwdriver in the notches of the adjuster. Spin the tire and check that it is spinning freely. Then pull down on the screwdriver handle so the adjuster screw moves, and reposition the screwdriver, so you turn the adjuster repeatedly. Once the brake starts to grab the drum and slow down the wheel, you turn the adjuster back a bit the opposite way until the wheel moves free.
- Your brake is adjusted; now you can do the other wheel(s). Lower the trailer jack and use it on all the brakes that need adjustments. If you’re done use make sure to put the tools, jack, and stoppers away, so your trailer is free to move.
- Now, you hook up your truck and trailer to test out the brakes. John from etrailer.com suggests that “You will want to start around 40 mph and use the manual override only to slow down the truck and trailer. You may need to do this 20 to 30 times without using the truck brakes. This will allow the brake shoes and magnet to seat into the drum.”(Credit Link)
- If you have made the correct adjustments, then you will feel the brakes working well. Ensure that all of the brakes are working correctly. If you feel that the brakes are loose, then you need to make adjustments, sometimes after a couple of hundred miles when you have purchased new brakes.
Conclusion
By following the above steps, you can easily adjust the electric brakes, which can help your trailer to come to a halt without any issues. You will have adjusted the brakes to contact the drum almost immediately, so it will be much easier to stop the trailer as opposed to loose brakes. All you need is a screwdriver, a jack, and a way to secure the trailer.
With a bit of time and patience, you can adjust your brakes, so you won’t have to worry about it for another 3000 miles. Good luck with all your travels with your trailer and keeping it maintained for a safe drive to your next destination.
Revised – 2/20