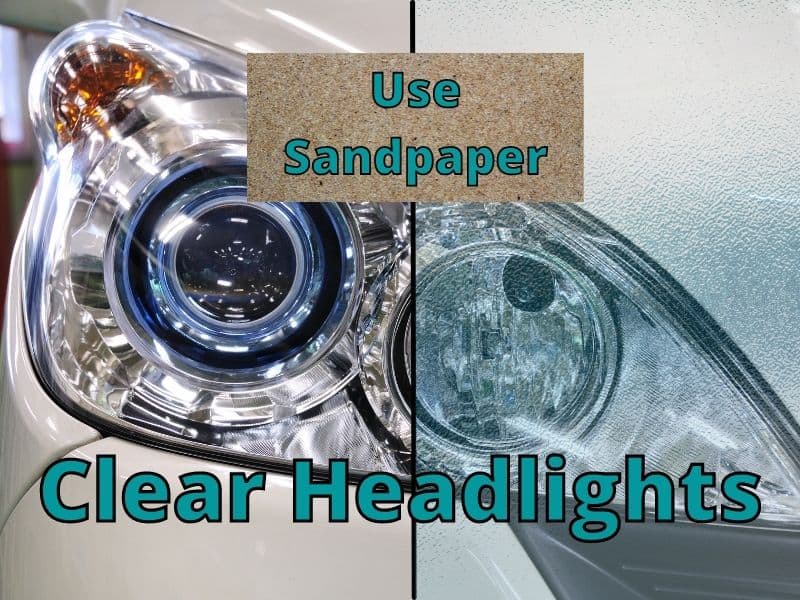
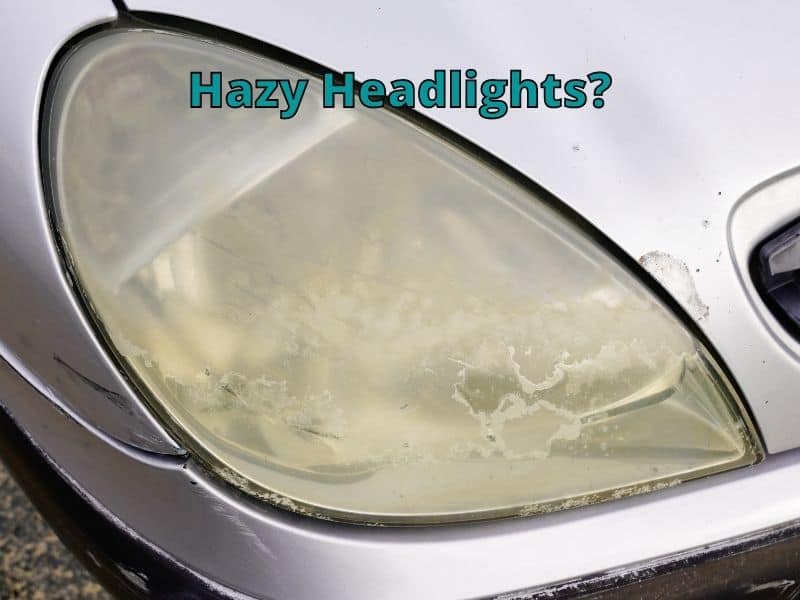
Through the years, your headlights can get hazy cloudy, and remain that way. You can make them temporarily look better by polishing them, but the haze will come back. If you want to remove haze long-term for years to come, you need to use sandpaper and a clear coat of spray paint.
To restore your headlights so they are clear, use sandpaper and a UV-clear coat. The steps are as follows:
- Sand with 600 grit, then 800 grit, and finally, if needed, 2000 grit.
- Wet sand the headlight in a circular pattern, then horizontally for each grit.
- Spray and clean the headlight and sandpaper with water as you sand.
- Dry and clean the headlight with rubbing alcohol.
- Add 2-3 layers of UV clear coat spray paint or some type of protectant over the headlights.
There are lots of steps and ways to go about getting your headlights clear again, but the only way to prevent oxidation long-term is to use clear coat paint over them. It’s a fairly cheap ($20+) and simple process but will take some time (30 minutes – 2 hours+). Read more to find out how involved it will be and all the details of how to do it.
Steps To Sand Your Headlights
The following are the steps I would take to sand and restore my headlights to like-new condition. Each person needs to consider the condition of their headlights and adjust accordingly to get the best results.
Ensure there is enough light outside or inside the garage to see clearly and get the job done right.
1. Headlight Haze
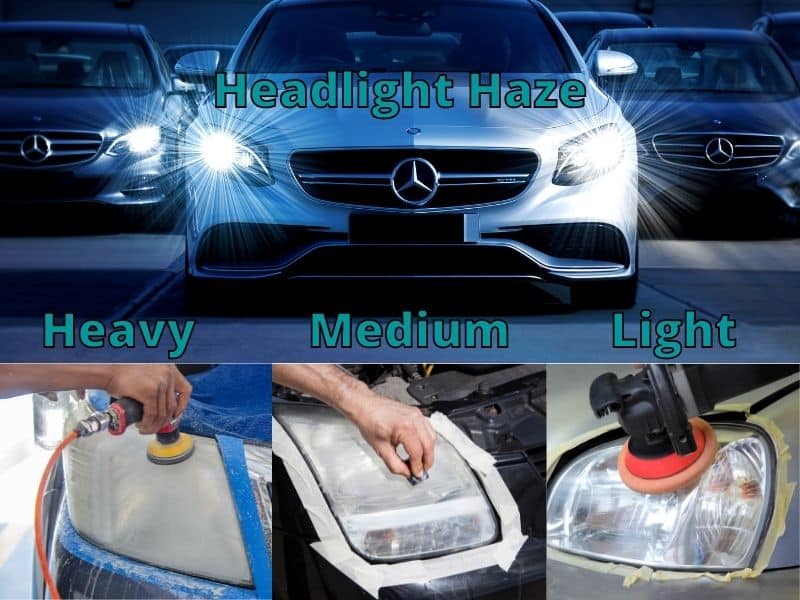
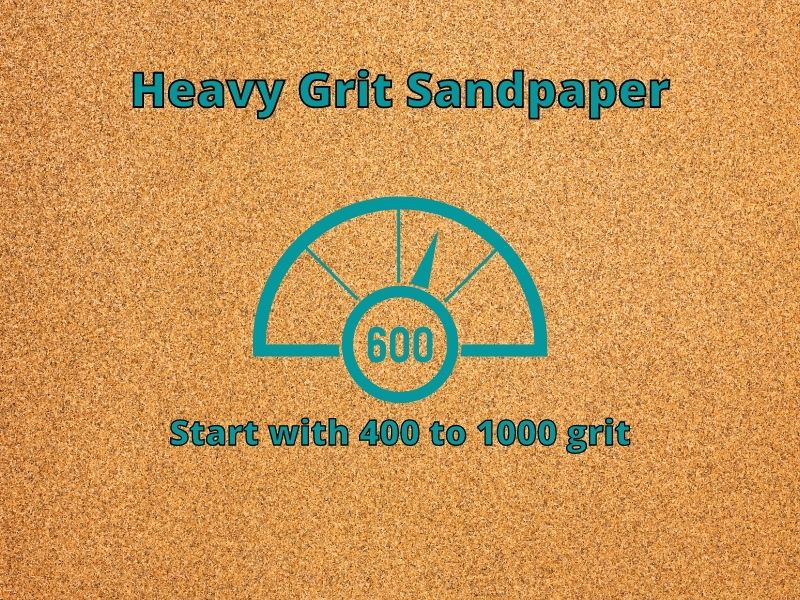
Determine if your headlights have light, medium, or heavy haze on them. Then start with the following grades of sandpaper for the following conditions:
- Light Haze – You can start with 800-grit sandpaper
- Medium Haze – You can start with 600-grit sandpaper
- Heavy Have – You can start with 400-grit sandpaper
Headlights with lots of haze and yellowing will take a bit more time to sand, while those with a light haze should take half the time. You’ll know that you’re done with sanding once the residue from sanding is clear as you spray it with water.
2. Gather Your Materials
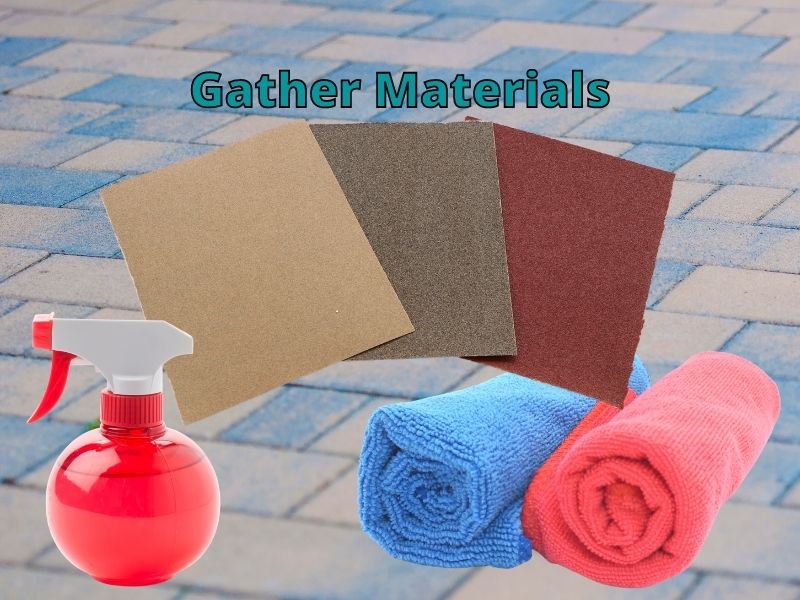
There are many ways you can tackle sanding, so you can decide what is best for you and your circumstances, but if I were to sand my headlights today I would likely use these materials.
- For A Light Haze – Use 800 grit, then 2000 grit sandpaper
- For A Medium Haze – Use 600 grit, then 800 grit, and last 2000 grit
- For A Heavy Have – Use 400 grit, then 600 grit, and last 2000 grit
If you want to use 3000-grit sandpaper, that might be helpful as well to create an extra smooth finish and more clarity, but it’s not necessary to get good results. In fact, it might be helpful to stop an 800 grit sandpaper to add a bit of rough surface for the paint to hold onto.
If you want extreme clarity, then using 3000-grit sanding may be helpful, especially if you are not going to spray paint a clear coat and only add another protectant to your headlight. For example, you could use a polisher to add compound and polishing cream to clarify the headlight and add a sealant manually to protect it.
The only problem with this is most sealants or protectants don’t last more than a year. That’s why using a UV clear coat is a great long-lasting solution.
Materials
- Sandpaper – Various grits of wet/dry sandpaper
- A Spray Bottle With Water – To clean during sanding
- A Clean Microfiber Cloth – To clean during sanding
Optional Materials
Sanding sponges with various grits can be substituted for sandpaper. Those who have a drill or polisher may be able to attach a sanding pad to their tools.
Polishing compounds can be purchased to buff out haze on the headlight. Then you would use a polishing cream and some sort of protectant at the end. These usually come as a part of a headlight restoration kit and could be used to add to or substitute some of the steps in the process of removing the haze.
3. Start Sanding Your Headlights
The goal during this step is to remove the haze from the oxidation of the UV coating on the headlight. While sanding, you will remove the haze but also create a haze by sanding.
How much time it takes depends on the haze level. Start by sanding lightly for about 1-2 minutes over the entire surface. For wet sanding, you may need an additional 1-2 minutes of sanding. Take the time to check the edges of the headlight to ensure the entire headlight is sanded.
What you need to watch for is the time at which the UV coating haze has been removed. You may need to look closely and see if the yellowish haze is gone; that’s when you stop.
For wet sanding, you will notice a “milky color running down” as you wet sand the headlight. (youtube.com) Once the yellowish haze is gone and the milky color turns more clear, you stop.
Dry Sanding – This means using the sandpaper without any lubricant.
Wet Sanding – This means wetting the sandpaper and the headlight thoroughly before and during sanding.
Sanding – Stage 1
- A. Before sanding, it’s a good idea to either remove the headlight if it is easy to do so and you know how to do it or tape around the headlight to prevent accidental sanding of the paint around the headlight.
- B. I would use dry sanding for heavy hazing to remove more haze a bit faster and wet sanding for medium or light hazing to prevent deeper scratches.
- C. I would determine the correct grit. For example, I would start sanding with 600 grit sandpaper if I had medium haze.
- D. You should not use a drill or polisher with a sandpaper pad. I may create deep scratches.
- E. Don’t push hard. Push lightly and create a consistent scratch pattern over the entire headlight.
- F. Use a horizontal sanding pattern.
- For dry sanding, use horizontal sanding across the headlight.
- For wet sanding, use water on the sandpaper and headlight. Start buffing the surface in a circular pattern to create a consistent scratch pattern over the entire headlight, and then sand horizontally across the headlight to achieve a horizontal pattern.
- G. Sand for 1-2 minutes or until the yellow haze has been removed.
- H. Spray the headlight with water and wipe it off with your microfiber cloth. Check that the entire surface is clean and sanded uniformly.
Sanding – Stage 2
- A. Determine the correct grit to use next. For example, if I started with 600 grit, then I would switch to 800 grit sandpaper.
- B. Use wet sanding from now on.
- C. This time push harder. Push firmly and use a circular motion in order to get a uniform smooth surface throughout the headlight. This should make a consistent scratch pattern.
- D. Use a horizontal sanding pattern to achieve a horizontal scratch pattern.
- E. Sand for 1-2 minutes or until you only see a horizontal scratch pattern.
- F. Spray the headlight with water often. When finished, wipe off the headlight with your microfiber cloth. Check that the entire surface is clean and sanded uniformly.
Sanding – Stage 3
Although you might not need this stage, it’s probably a good idea just in case you missed some part of the headlight or didn’t quiet get the surface evenly sanded on the previous step.
- A. Determine the next grit to use. For example, if I started with 600 grit, then I would end with a 2000 grit sandpaper, although you can choose up to 3000 if needed.
- B. Use wet sanding.
- C. Continue to push firmly and use a circular motion in order to get a uniform smooth surface throughout the headlight. This should make a consistent scratch pattern.
- D. Then use a horizontal sanding pattern to achieve a horizontal scratch pattern.
- E. Sand for 1-2 minutes or until you only see a horizontal scratch pattern.
- F. Spray the headlight with water often. When finished, wipe off the headlight with your microfiber cloth. Check that the entire surface is clean and sanded uniformly. Ensure the area around the headlight is also clean and dry.
Spray Paint Your Headlights With A UV Clear Coat
Your headlight should now have a horizontal pattern scratch over the entire surface. The next step is to spray paint your headlight(s) with a UV-clear coat. Make sure you have plenty of light to see clearly as you paint.
1. Materials Needed For Spray Painting Headlights
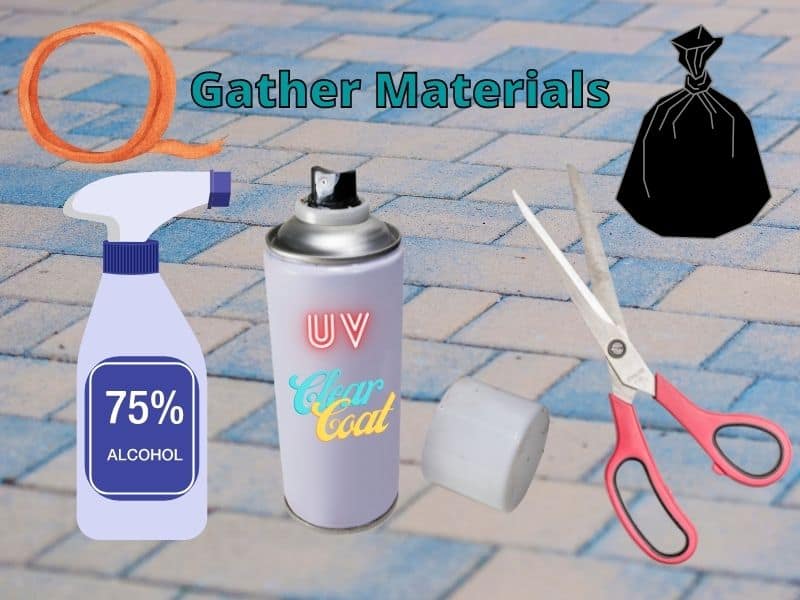
- Rubbing Alcohol – Use before you paint
- Painters Tape – Tape around the headlight and trashbag when painting
- Trash Bag – Place around headlight when painting
- Scissor – To cut the trash bag
- Clearcoat Spray Paint – To paint the headlight
2. Prepare The Headlights For Spray Painting
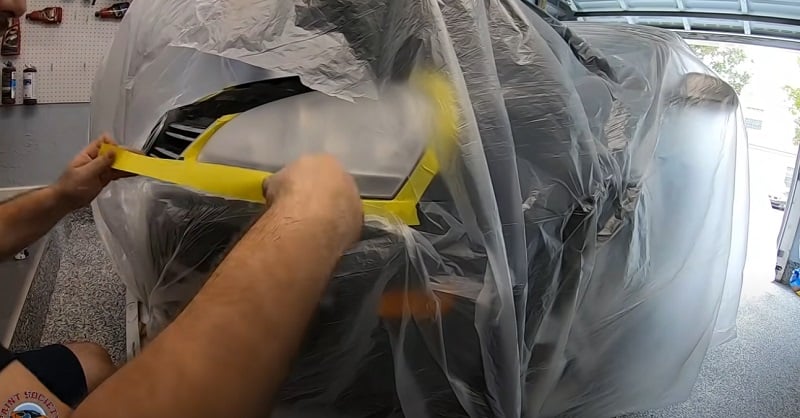
This step involves creating a protected area around the headlight so clear coat doesn’t get on your car.
- A. Cut a trash bag along the seams (if it has one), so it is cut in half or two equal flat sheets. (You can also use a plastic paint cover for the entire car)
- B. Tape the trashbag over the headlight and the surrounding area so it pulled back snug.
- C. Poke a hole in the trash bag directly over the headlight.
- D. Cut the hole so it is a just a bit larger than the headlight, following the outline of the headlight.
- E. Tape the plastic down all the way around the headlight so no paint is exposed.
3. Spray Paint The Headlights
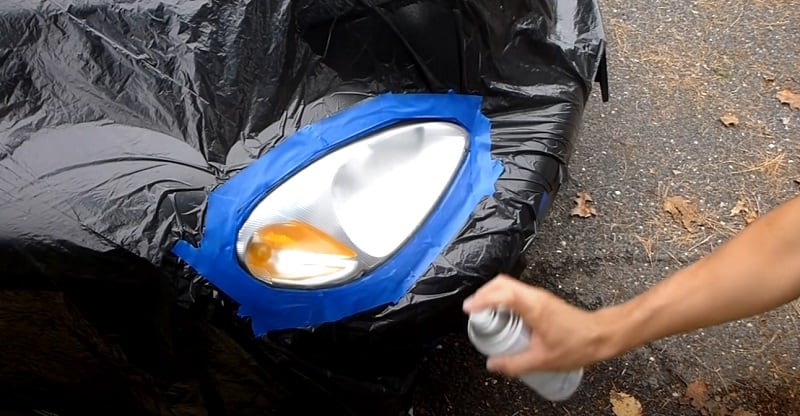
Choose a day that is not windy or rainy. Look on the spray paint container for specific instructions, as each paint will have slightly different instructions. Make sure it is UV clear coat that works on plastic.
Depending on where you paint and if wind is blowing, you may need to protect your car with more plastic bags.
Painting – Stage 1
- A. Shake the paint can or follow instructions provided.
- B. Clean the headlight with a clean microfiber cloth and rubbing alcohol.
- C. Once clean and dry start spraying horizontally across the headlight at the specificied distance. (It’s a good idea to practice painting on a peice of cardboard first to ensure you get the hang of spray painting correctly. You don’t want to spray too much in any one area.)
- D. Spray in short bursts at the correct distance. Alternatively, you can continously spray smoothly left to right in a snake like pattern if the area around the headlight is cover wide enough with plastic. Ensure there is an even thin coat over the entire headlight.
- E. The headlight may seem hazy but as the layer of paint dries it will clear. Let the paint dry the specified time, usually 5 minutes. (If you sprayed a bit more than a thin layer you may want to wait a little longer.)
Painting – Stage 2
- A. Shake the paint can again.
- B. Apply the second coat. Apply a thin even coat as done previously.
- C. Let the paint dry the specified time, usually 5 minutes. Check out how smooth the paint is. If it looks slightly rough (this is called orange peel effect) then a third coat can help smooth out this texture.
- C. The headlight should be fine with two coats, but painting a third coat may help with smoothness and clarity.
Painting – Stage 3
- A. Shake the paint can again.
- B. Apply the third coat if desired. Apply a thin even coat as done previously.
- C. Let the paint dry the specified time before removing the tape and plastic. Usually about two hours. Colder temperatures and humity will affect drying time.
- D. Remove tape and plastic. Wait 24 hours to see what it looks like when fully dry.
At this point your headlight may look great but it may still have the orange peel effect where the surface isn’t smooth. You can either leave it alone and add some caranuba wax to protect it from dirt or do more sanding.
If you see the surface isn’t smooth even though it’s clear, you can wet or dry sand with 2000-3000 grit sandpaper to smooth out the surface and then use a electric buffer.
You’ll need a compound and polish or all in one, with the electric buffer to clarify the headlight. Then it will be both smooth and clear.
Benefits Of Sanding And Painting Your Headlights
The benefits of sanding and painting is the improvement of the look of your vehicle. Your lights will look new again, imporving the cosmetic appearance of the entire car.
It can also help improve overall visibility of the road while you’re driving your car at night.
When you sell your car, having clear headlights improves the overall price of saling of your car.
Why Headlights Get Hazy
The UV rays from the sun are the reason almost all headlights get hazy. Plastic oxidizes when exposed to UV rays.
Most of the headlights that you can find in today’s cars are made from polycarbonate. Compared to glass, it is safer but more prone to damage from the sun, acid, and possibly humidity and rain. They can also get damaged from some cleaning products that have harsh chemicals.
Just like you’re car’s clear coat, adding some wax to them can temporarily add protection from oxidation and buff out so of the haze from your headlights. Yet, a couple of weeks later the headlights will probably be back to the way they were.
Discoloration and oxidation may affect the light output from your headlights as well. If you drive at night you might notice the effects more dramatically from one car to another.
Do You Need Sandpaper To Restore Your Headlights
AD
There are many headlight restoration kits available and some do a great job, but this can also depend on how oxidized your headlights are.
These kits are fairly easy to use, reasonably priced more or less, and don’t take too much time. That’s why many people opt for this solution rather than taking the time to sand and paint.
Yet, sanding will actually remove the oxidized layer of plastic that has hazed up on your headlights and make them truly clear instead of just polishing (which can remove oxidation) them and covering them with a protectant (doesn’t last long term).
Headlight Restoration Kits
Many headlight restoration kits can work well because they often come with the sandpaper or pads needed to remove oxidation, although they sometimes lack a clear coat. So you’ll need to make sure you get the right kit if that’s what you want to do.
One benefit of these kits, is they usually take less time than doing it yourself.
If you do choose a kit I would recommend the products below. These might work well depending on your situation. Headlights with heavy haze might not be best for all kits. The clear coat for these kits may also not last as long as painting it yourself.


AD
When choosing a type of headlight restoration kit, consider the following:
- Feedback: What other people are saying. Some products will work in one situation but not another, so a little research will go a long way.
- Cost: Price can be a factor in what you buy. Although a kit or doing it yourself can cost about the same price if you are smart about your purchases.
- Warranty: Some products have a guaruntee, that can give you a little extra protection. The Carakote has a guaruntee for the life of the car if I understand correctly or they will give you a new kit if it doesn’t last.
- Material: If the kit doesn’t have sand paper or something very similar, then it may not work on all headlamps because of heavy hazing.
- Ease of Use: One of the products I looked at said it only took 30 minutes, while another said 40 minutes. Getting the job done quickly can be an important factor for some people.
- Protection: Be careful that you are getting the protection you want. One product claimed to last 1 year, while other’s may not give a time period.
Helpful Resources
I have looked at a lot of videos and found the following three videos the most helpful for how to remove haze from your headlights by sanding them. Most of the information in this article was gathered from these three resources.
Conclusion
Sanding and painting your headlights can be a great idea. Make sure you have the time and resources needed to do it right, though. After a few rounds of sanding and spray painting, your headlights can look very clear.
You can expect to get great results with a little time and patience. You can go cheap, spending about $20 or end up spending a lot more if you decide to buy some polishing equipment.
Most anyone can restore their headlights with a little time, and some who take the extra time can restore them so they look great for a long time to come.
Thanks for visiting Drivinglife.net