Motorcycle enthusiasts are most likely to describe a Harley as their best friend or companion. It is not just a great bike; it is very special and can be regarded as a valuable family member. So, do you know how to properly wash a Harley? Sure, you would rather ride it than wash it, but after a weekend of riding, it would be great if you could bring it back to showroom quality.
In this post, we are going to talk about the step-by-step guide on how to wash a Harley. We also have provided you with a rundown of the tools you will need, as well as some tips. Here are the four main steps you need to follow to wash your Harley:
- Remove Bugs and Grease From Your Harley
- Wash Your Harley With Soap and Water
- Drying Your Harley
- Polish Your Harley
Making sure your Harley is clean, shiny, and polished is guaranteed to enhance your riding experience and may add more years to your bike’s lifespan. Now, let’s talk about what you will need to follow in this tutorial.
Items You Need to Wash a Harley
In this video, you’ll see what items you generally will want when washing any motorcycle. Some owners use a pressure washer, but a hose can work fine as well.
If you wash your Harley at a commercial car wash center, you might not have all the tools you need to get your motorcycle clean. Unfortunately, some of the items you need you may not find at the car wash center, but you can use more specific tools that you have at home:
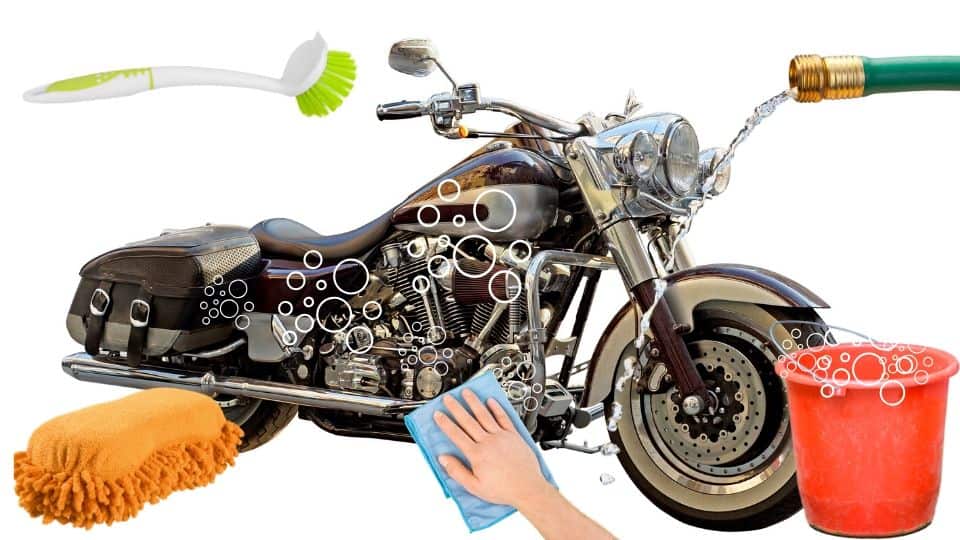
Here’s a list of items that will help:
ITEMS NEEDED
- Wheel and spoke brush
- Microfiber cloth/mitt/sponge
- 1-2 water buckets
- Car/Motorcycle wash soap
- Chamois or microfiber towel
- Hose or pressure washer
ITEMS YOU MAY WANT
- Engine degreaser (Amazon Link)
- Bug spray (Amazon Link)
- Toothbrush
- Air motorcycle dryer (Amazon Link)
- Tire cleaning spray (Amazon Link)
- Glaze polish and sealant
- Rubber gloves
- Chain cleaner
- Chain cleaning/lubrication kit (Amazon Link)
- Chain lubricant
- Motorcycle Lift Stand (Amazon Link)
Step-by-step Guide on How to Wash a Harley
Start in a convenient area. Try for a level, hard driveway. You need to be free to work and clean without obstructions.
Once you have prepared all the necessary tools, you may now begin the process of cleaning and polishing your Harley. Just remember that you wash your Harley with precision and care. If you don’t, you might be exposing your motorcycle to inadvertent damage. Here’s what you should follow:
1. Remove Bugs and Grease From Your Harley
Before you begin to wash your bike, decide if you want to clean the chain. This would be the time to do that as well. You certainly want to clean off the grease in all areas that are hard to reach and areas that are hard to clean off.
First, it’s a good idea to check the headlight and the front fender for tar and bugs.
It’s a common occurrence that bugs stick to your bike’s body while riding. To remove them, you need to use warm towels in soap (see video) or use a bug spray remover to get the job done. Then you can wait and rinse it off with water.
Next are the nooks. Use a couple of rags or clothes that can get greasy. You may need to crane both your neck and arm to reach the exhaust pipes, the swing arm, under-seat suspensions, the exhaust arm, and the cylinders.
Then you can also use a toothbrush to clean the suspensions and tight areas around the cylinders.
Sometimes all you need is a good engine degreaser to thoroughly clean these areas. Spray it on, wait and wash it off.
Last are the wheels, which tend to get grimy because of the chain lube and various dirt from the road. You need to use a tire cleaner spray on all the angles and nooks of the wheel.
You can also use a plastic brush to thoroughly remove stubborn dirt or grime. You need to give it some time before you can wash it off using a hose.
2. Wash Your Harley With Soap and Water
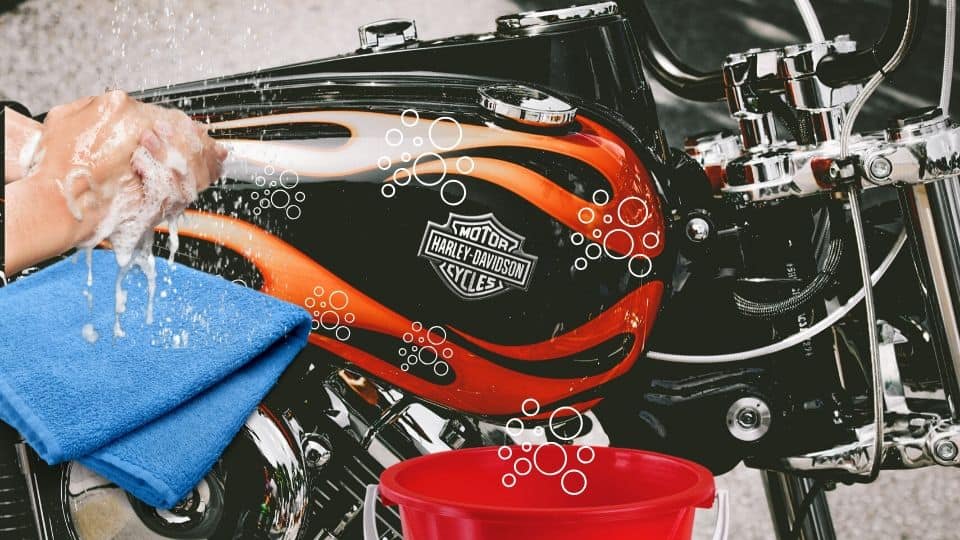
First, make sure you can prepare two buckets, one with soap and water and the other one with just water.
One thing to take note of is that the sponge or microfiber cloth you are using is free from dust particles and grease. Prevent paint damage by using only clean, particle-free cloths.
Next, rinse the entire motorcycle with clean water. Avoiding water-sensitive areas (engine bay, dashboard, and chain) if using a pressure washer. Soak the wash mitt/cloth in the soap bucket or spray on soap with your pressure washer.
Then, use your cloth or mitt to clean all the areas of the bike with soapy water unless they still have grease. Rub painted areas with lite pressure to help prevent scratching if particles are still left on the paint.
TIP: Try to keep your bike wet when washing. You can wash and rinse in sections if necessary to prevent soap from drying on the motorcycle.
A foaming soap sprayer helps keep the soap on the bike longer. It also remains wet longer. Going from bottom to top when spaying ensures even coverage.
Last, check that you have washed all the areas of the motorcycle that need to be cleaned, and begin rinsing it off with clean water from the top to the bottom (it helps prevent dirt from spaying up).
Ensure that all soap has been rinsed off, especially in the hard-to-reach areas. You can use the wash mitt to ensure thorough cleanup of the tiny areas.
Another thing to remember is that you should avoid pressure washing when rinsing, so it doesn’t penetrate the engine, chain, and dashboard components.
3. Drying Your Harley
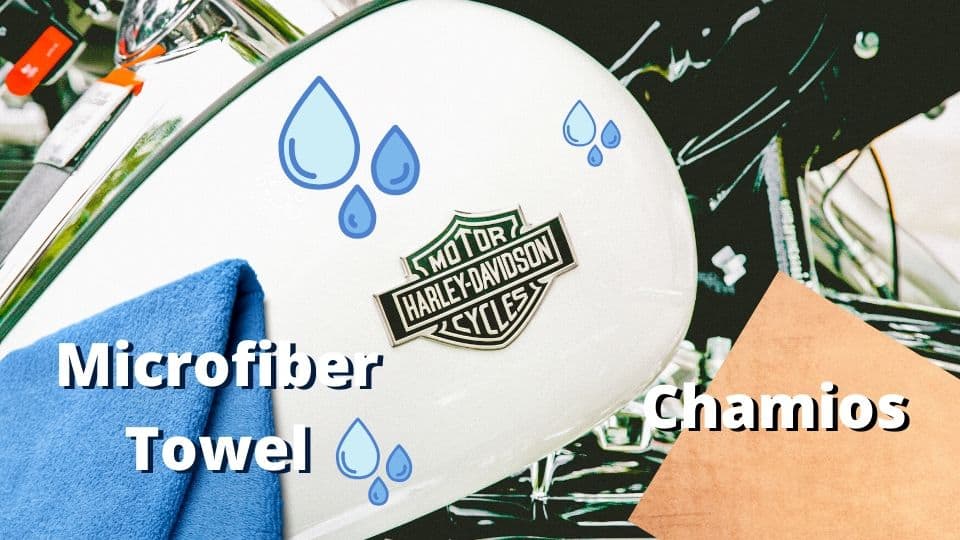
Most people like to use microfiber towels when drying their motorcycles. They’re cheap, clean effectively, and safe on paint. Although, a chamois (Amazon Link) is also a great tool to have because it is so effective at soaking up water.
First, wipe the water off your bike in all areas possible. Avoid the rubber on your tires and the chain. If there’s still grease in an area, avoid using your towel on it.
Next, ensure your bike is completely dry to avoid spots or streaks. Recheck to see if you missed anything.
Last, ride your motorcycle to help remove any remaining water. If necessary, stop the bike after a couple of blocks to wipe up any streaks that have developed. Carry a microfiber towel to wipe up water if needed.
Another option is a motorcycle dryer. It can effectively help you dry your bike. A leaf blower (see video below) may also work. Make sure it has a narrower attachment to help push more forcefully.
Air pressure is a good way to get into those nooks and crannies that are hard to access. You’ll be glad you dried your bike thoroughly because it will look great. Make sure your chain is dry also, and add lubrication if needed. A wet chain over time will cause corrosion.
4. Polish Your Harley
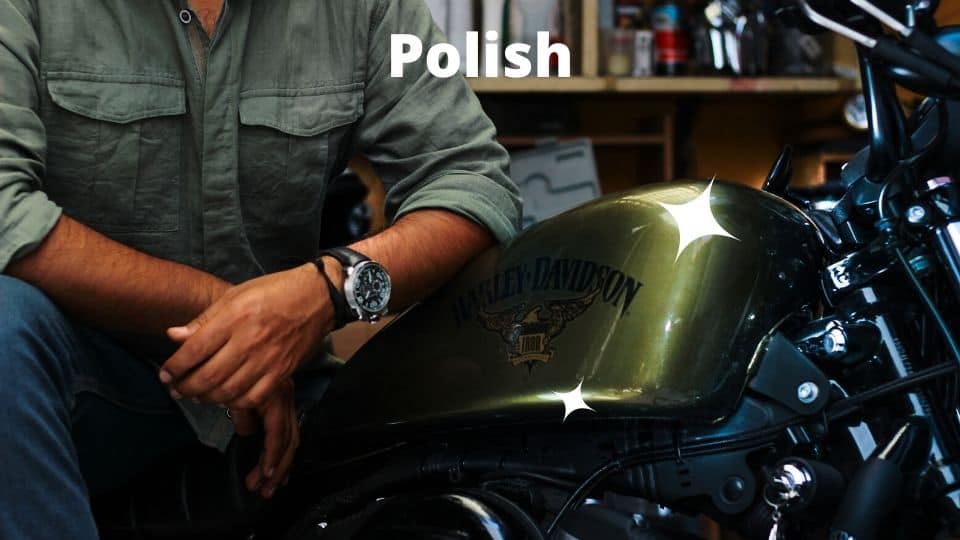
The last step in washing your bike is to make sure it has been polished and sealed. It is common knowledge that a well-polished Harley can repel bugs and dirt.
You may use wax (Amazon Link), along with a microfiber towel, to polish the tank and fairings on your Harley’s body. You may need to leave it on for a few minutes before cleaning it off.
TIP: Keep waxes away from your windshield, as some may create a haze that won’t remove them. If your forks are really bad, you might consider using sandpaper and a buffing tool and then polish.
To polish the metal part of your Harley, use a metal polish (Amazon Link) to help all those parts shine. If your bike parts get very dull, you may need to clean, buff, and then polish them. (see video for quick method)
Tips on How to Wash a Harley

- You need to remove all the items that you don’t want to get wet such as tank bags, luggage, and GPS.
- It is very important to know beforehand when and where you wash your Harley. You cannot wash it directly from a long ride. Give it time to cool down before you clean it. It is also considered dangerous to perform the washing on the street.
- Regular washing is recommended. If you drive your motorcycle every day, washing weekly or biweekly is recommended. You don’t need to overdo it.
- TIP: During washing, check your bike for any issues, including fluid and oil leaks. Clean squashed bugs soon, if possible. It’s more difficult to remove later on.
- Remember that quality cleaning products are important to use. Using the wrong product in the wrong area could damage your bike.
- When washing your Harley, make sure that you don’t drop the wash mitt, a piece of cloth, or a sponge to the ground. These materials can easily pick up dirt, and even just a small grit can scratch your bike.
- If you are dealing with strong and harsh compounds, it would be beneficial for you if you wear rubber gloves.
- Never dismiss the effectiveness of using an old toothbrush to clean hard-to-reach areas of your Harley.
Conclusion
Now that we have reviewed how to properly wash a Harley, you can take steps to do a professional job on your own. All you need to do is prepare all the necessary materials, and you are good to go. Just make sure that you have read the tips we have provided, so you won’t have a difficult time washing your Harley.

